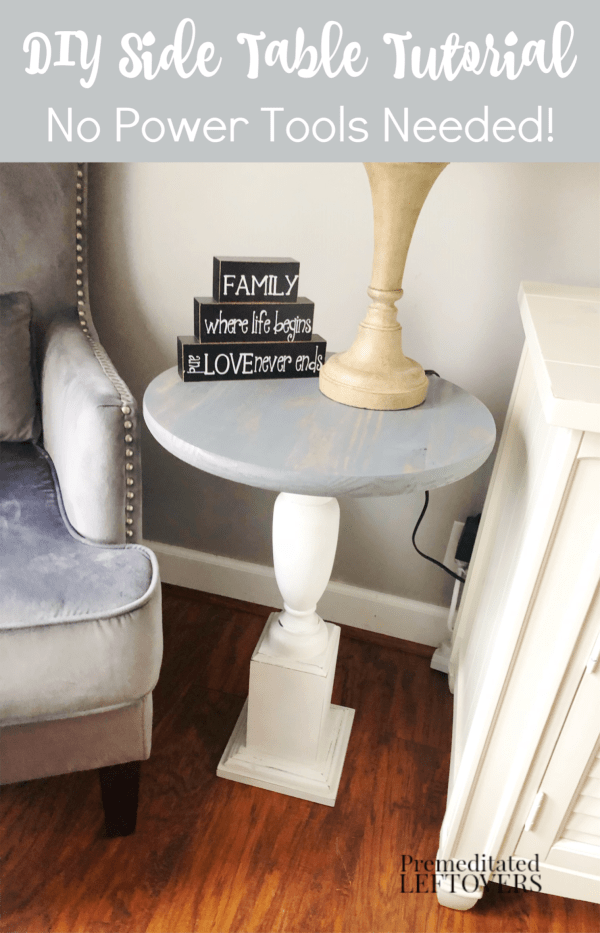
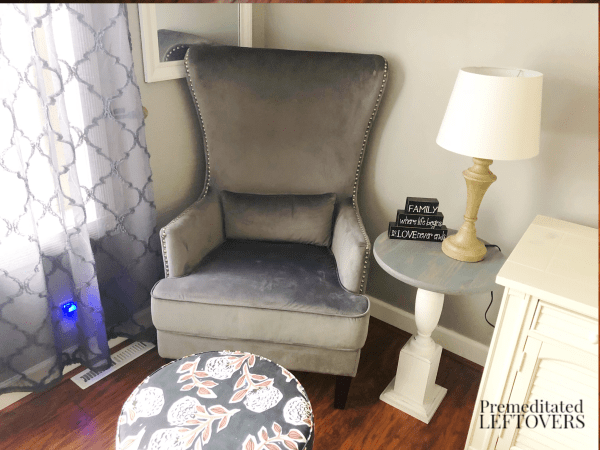
There is no need to break out the power tools for this pretty and simple DIY Side Table Tutorial that you can create in just a few hours.
This DIY Side Table Tutorial is perfect if you need a little table for your book nook, a spot to drop your keys in the sitting room, or even next to your bed to contain important things like tissues, books, booklights, more books, and night cream. If you are not comfortable or don’t own any power tools you can still customize your own little table in a few hours that can brighten up or add some drama to your favorite spot. You can grab a plant stand from Hobby Lobby like I did or maybe you already have one laying around the house or porch that isn’t being put to the best use.
DIY Side Table Tutorial
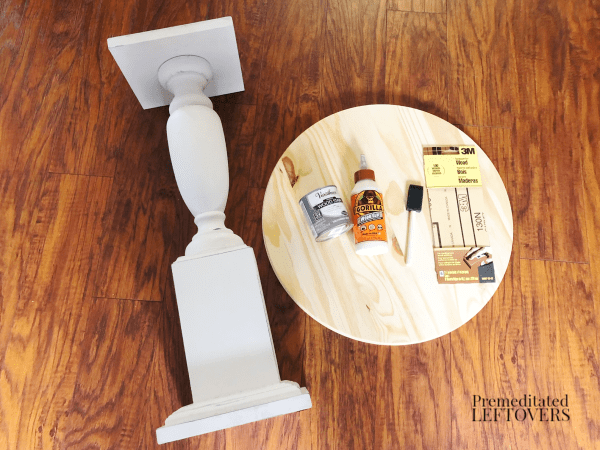
Supplies Needed:
A white wooden plant stand (hobby lobby) Length: 7 7/8″, Width: 7 7/8″, Height: 23 7/8
1 in. x 1.5 ft. x 1.5 ft. Pine Edge Glued Panel Round Board
Weathered Gray Varathane stain
Foam paintbrush
Gorilla wood glue
Sandpaper
Directions:
1. Sand the round board with a piece of sandpaper, no need for a hand sander.
2. Wipe off the board with a dry towel.
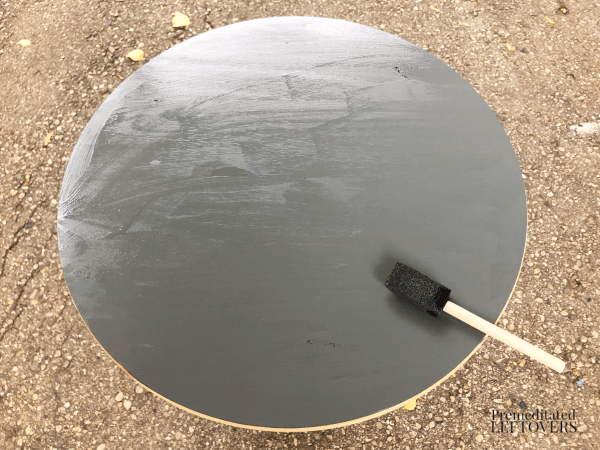
3. In a well-ventilated area, stain the top and sides of your round board on a few pieces of newspaper, wipe off with a clean rag and let dry for a few hours.
4. Turn the board over and stain the bottom side, wipe with a clean rag and let the board dry on its side overnight.
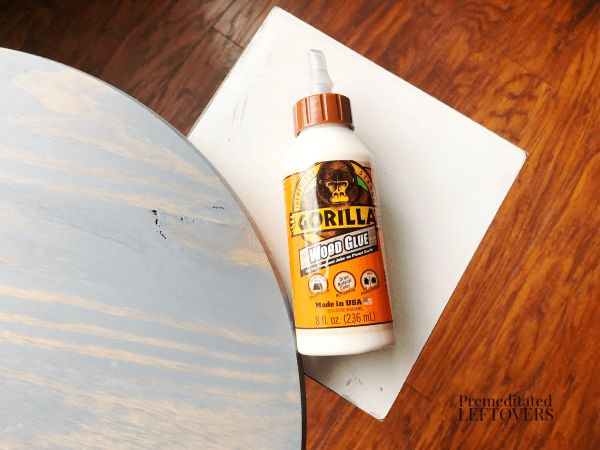
5. Apply the wood glue to the top of the plant stand, place the stained board upside down on the ground and press the top center of the plant stand on the bottom center of the wood stained board.
6. Place a handful of heavy books on the bottom of the plant stand and let dry overnight.
7. Your side table is ready to use.
* Your table shouldn’t hold more than 25 lbs.
Here are 13 more quick and easy side table ideas.
More Home DIY Tutorials
Upcycled Serving Tray Chalkboard

Leave a Reply