• Home
  • About
    • Privacy Policy
  • Blog
  • Prep-Ahead Meals Cookbooks
  • Recipes
  • Lifestyle
  • Gardening
  • Kid’s Activities
  • Gluten-Free Recipes
  • Budgeting Tips
↑

Premeditated Leftovers™

Prep-Ahead Meals, Cooking Tips, and Frugal Living

  • Cookbooks
    • Prep-Ahead Breakfasts and Lunches
    • Prep-Ahead Meals From Scratch
  • Recipe Index
  • Members Area
    • Member Login
    • Join Us
  • Home
  • Blog
  • Recipes
  • Gluten-Free Recipes
  • Lifestyle
  • Garden
  • DIY
  • Kids
  • Budget

You are here: Home / Naturally Frugal Living / Upcycled Serving Tray Chalkboard

Upcycled Serving Tray Chalkboard

September 19, 2016 by Ann Leave a Comment

This post may contain affiliate links. Read our disclosure policy here.
95 shares
  • Share
  • Tweet

This Upcycled Serving Tray Chalkboard is a charming way to display greetings or messages in your home. It’s such an inexpensive and easy project that you can make one for yourself and give one to a friend!This Upcycled Serving Tray Chalkboard is a charming way to display messages in your home. It's also an easy DIY project that is quite inexpensive to make!

Little message boards are a fun way to jot down reminders or display greetings in your home. Decorative chalkboards give you the added benefit of being able to reuse the same surface over and over again. This Upcycled Serving Tray Chalkboard is an easy and inexpensive project you can complete in no time at all.  The faux serving tins you find stacked up at thrift stores or dollar stores make the perfect surface. Add a bow and a sweet note and you’ve got a decorative display you can use all year long!

Upcycled Serving Tray Chalkboard Tutorial
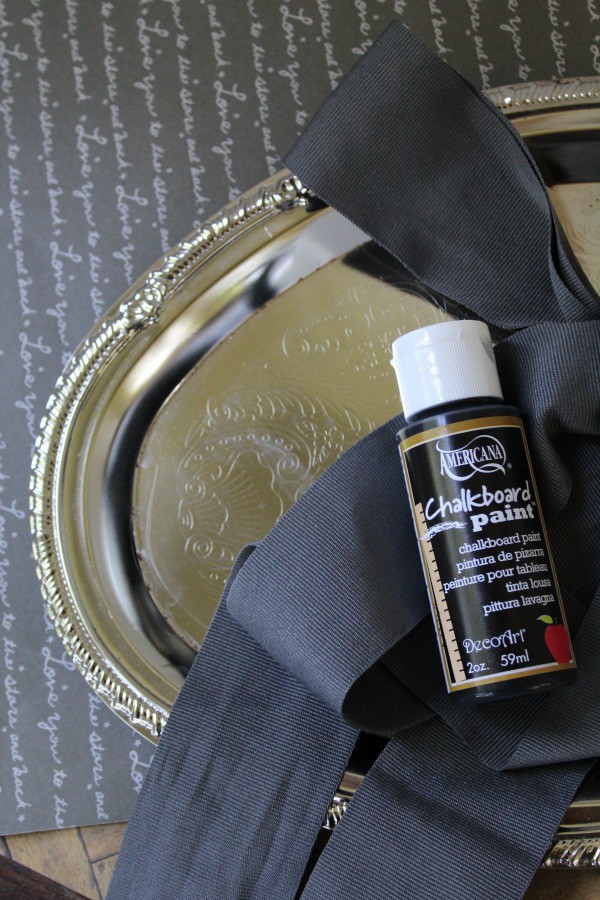
Materials Needed:

  • faux silver serving tray
  • chalkboard paint
  • sponge paint brush
  • hot glue, glue gun
  • thick ribbon
  • scissors
  • chalk

Upcycled Serving Tray-materials

Directions:

1. Begin by wiping the tray with a dry cloth to remove any dust or debris. This will also help the paint adhere nicely. Make sure the tray is nice and dry.

2. Pour a little chalkboard paint in the center of the tray and smooth it around the inside of the tray. You want to create a thin layer, keeping the paint at the center of the tray. A sponge brush does this best and will leave less streaks.Upcycled Serving Tray Chalkboard- apply paint

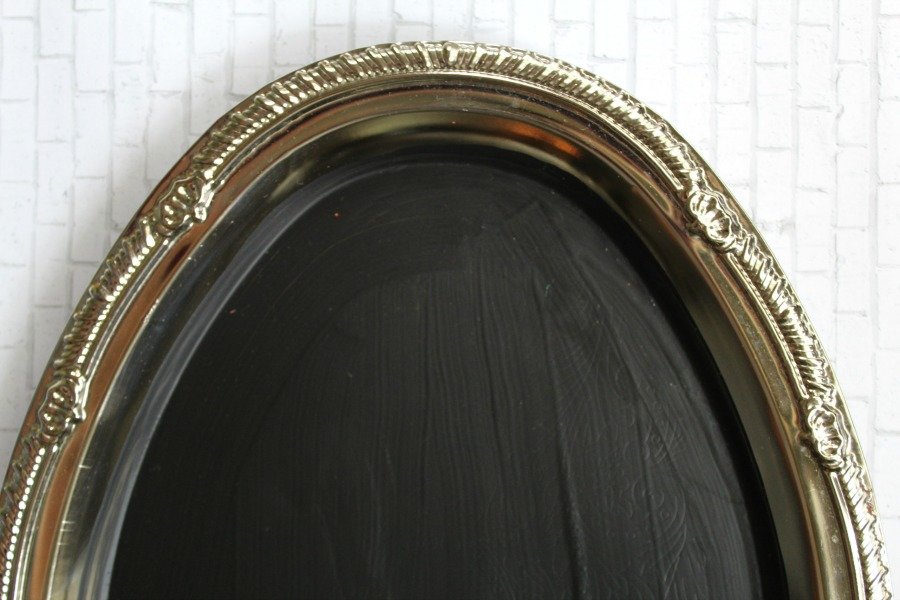
3. Allow the paint to dry well before applying a second layer. A second layer will help smooth out the surface.

4. The chalkboard paint will need a good 12 hours to dry before you write on it. During this time you can cut a length of ribbon and glue it to the back of the tray as shown. Hot glue is perfect for adhering the ribbon. Upcycled Serving Tray Chalkboard- adhere ribbon

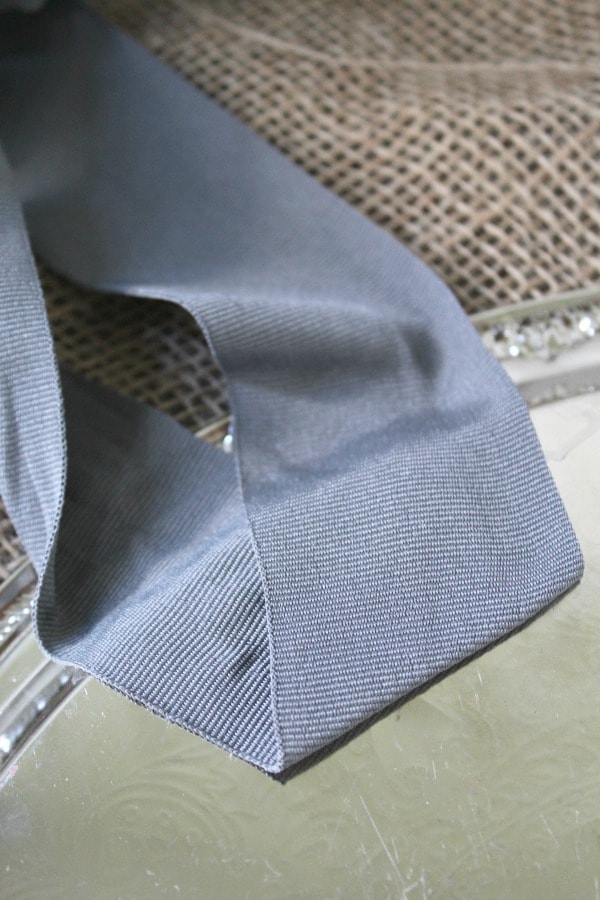
5. Tie the ribbon into a bow at the top for hanging.

6. Once the chalkboard paint has hardened it can be written on. But first, gently shade over the paint with the side of your chalk to condition it and soften the surface. Wipe with a dry cloth, and then your surface is ready to be written on.

Upcycled Serving Tray Chalkboard-write with chalk

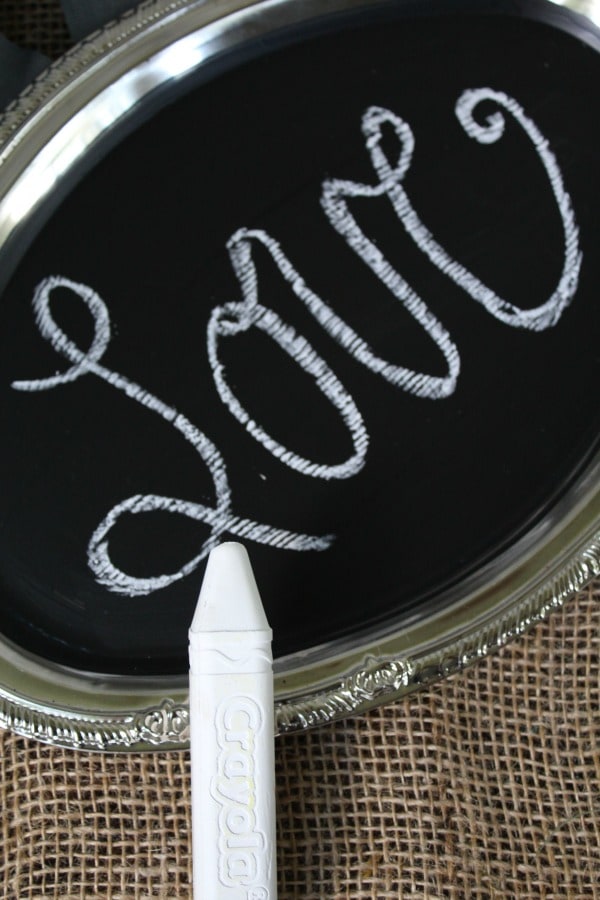
7. Hang your chalkboard from a hook via the ribbon and enjoy.

More DIY Chalkboard Crafts:

How to Make a Chalkboard Pumpkin

DIY Chalkboard Wine Glasses and Girls Lunch Tablescape Idea

DIY Chalkboard Spice Shakers

Upcycled Lazy Susan Chalkboard

95 shares
  • Share
  • Tweet

Leave a Reply Cancel reply

Your email address will not be published. Required fields are marked *

Recipe Rating


Search

Prep-Ahead Breakfasts and Lunches by Alea Milham

Recent Articles:

soothing face mist recipe

Homemade Soothing Summer Face Mist

Making the Most of Free Concerts in the Park

Making the Most of Free Concerts in the Park

7 Ways to Enjoy a Simpler Summer with your family this year.

7 Ways to Enjoy a Simpler Summer

Prep-Ahead Meals from Scratch Where to Buy

BROWSE:

  • Blog
  • Cookbooks
  • Recipe Index
  • Members Area

ABOUT:

  • About
  • Contact
  • Privacy Policy
  • Disclosure

Welcome. I'm Alea!

On Premeditated Leftovers I share simple recipes made with whole foods, practical shopping tips, time saving techniques, and meal planning strategies. I also share tips for minimizing food waste, so more of the food that is purchased ends up on the table.

While volunteering as a budget counselor, I realized that food is the element of most people’s budgets where they have the greatest control. I set out to develop low-cost recipes from scratch to prove it’s possible to create delicious meals on a limited budget. Eating well while spending less is about more than just creating recipes using inexpensive ingredients; it’s about creatively combining ingredients so you don’t feel deprived and are inspired to stick to your budget.

Copyright ©2025, Premeditated Leftovers™. All Rights Reserved.
Design by Pixel Me Designs