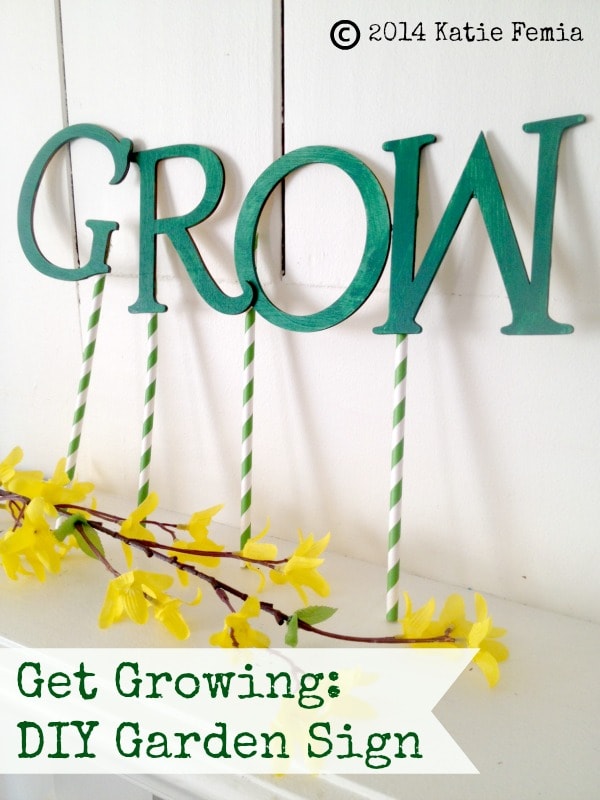
Do you want to spruce up your garden with a little fun and whimsy? Then give this easy to make and even easier to enjoy DIY garden sign a try. You can make your own in a jiffy, and when you are done you will have some unique garden art that your neighbors are sure to notice. Take a look at how to get busy crafting your own.
Get Growing: DIY Garden Sign
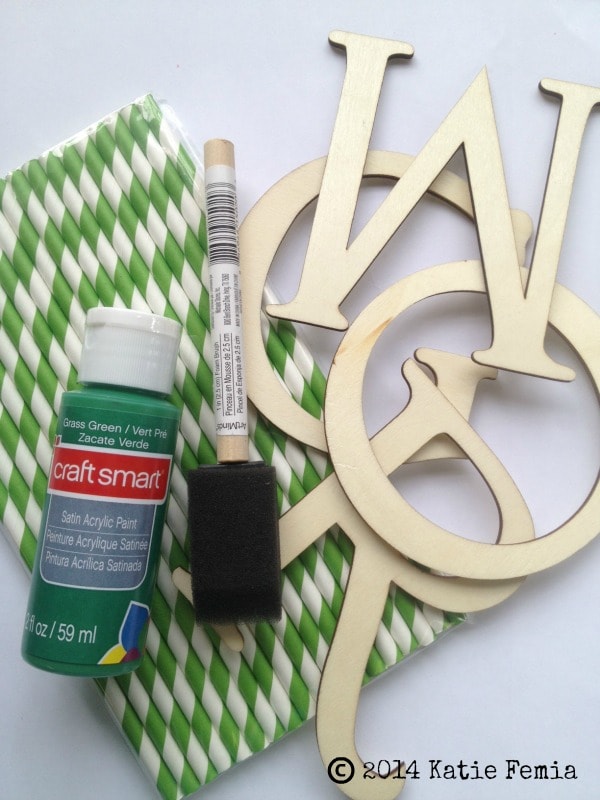
Supplies needed:
Wooden letters in word of your choice (we used GROW)
Craft paint
Paint brush
Dowel rods or cardboard straws.
Hot glue, glue gun
Clear sealant spray
We found everything we needed at our local craft shop. Feel free to use words that work for you as well as paint colors that tickle your fancy. We went with a basic green and GROW theme but you can deviate from this as much as you wish.
Directions:
1. To begin, apply 2-3 coats of paint to the wooden letters. You want the paint to be thickly layered.
2. Once the paint is dry, glue the letters using your hot glue to the tops of the straws or dowel rods. You want to use the decorative cardboard straws such as the ones we used here since they are durable. Anything else may not hold up well.
3. As soon as the glue is dry, you want to apply a sealant to the pieces. Do this by using a clear sealant that is intended to waterproof and protect the stakes. Apply 2-3 coats and allow time to dry.

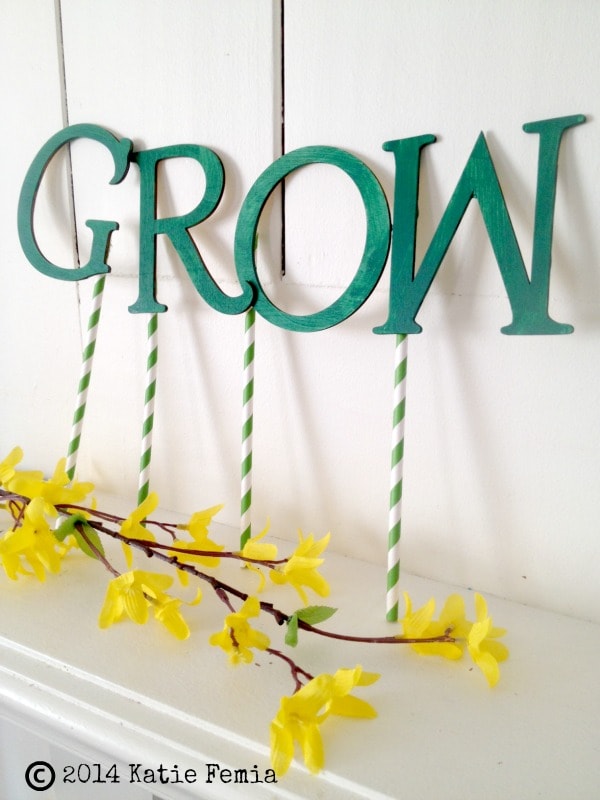
When you are done, you will have beautiful garden stakes such as these. All you need to do now is poke them directly into the soil of your garden and potted plants. They are sure to make a statement!
Gather your supplies and give this easy DIY garden sign craft a try. It is the perfect way to perk up your garden for less.
More Spring Decor Ideas
Frugal Spring Decorating Ideas

Leave a Reply