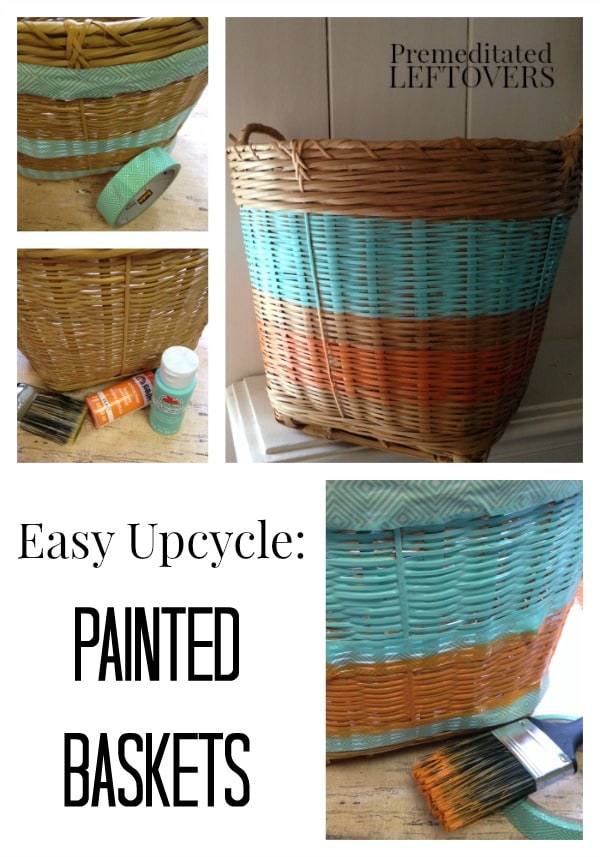
Turn an ordinary thrift store basket into something fun and fresh with just a little patience and a little paint. Take a look below at how less than $2 in supplies gave us a finished product that looked like something off the shelves at Anthropology! This hand painted basket is so easy to make, that you might find yourself crafting more than one. Take a look so you can get started right away.
How to Paint a Basket
Supplies needed:
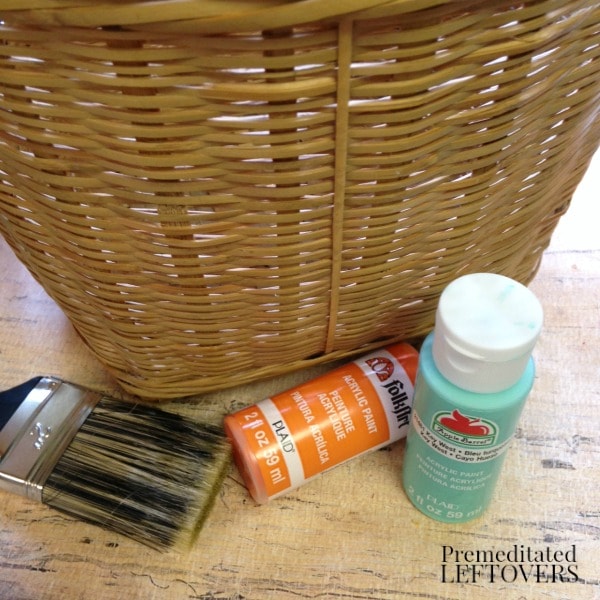
- Basic woven basket
- Assorted paint brushes
- Craft paint in complimenting colors
- Masking or paint tape
We found our basket at a local thrift shop for less than $1. We also found the paints at a local craft store for around .50 cents each. Considering we had the brushes and tape on hand, in total, this upcycle only cost us around $2!
Directions:
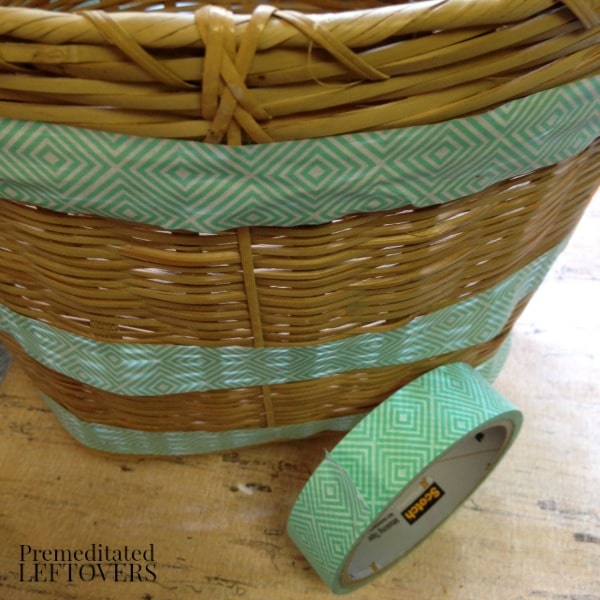
1. Begin by using your masking or painter’s tape to tape off the areas of the basket you don’t wish to paint. The tape will help you keep clean lines and offer a really finished look.
2. Once the tape is applied well, you can begin your first color of paint. Apply some paint to a plate and dip your brush in. Start by dabbing the color on the basket first to create a layer. Then, go over it with a second, brushed on layer.
3. Clean your brush or use a new one to add the second color. Move to a new section and begin the process again. Dab first, then brush on.
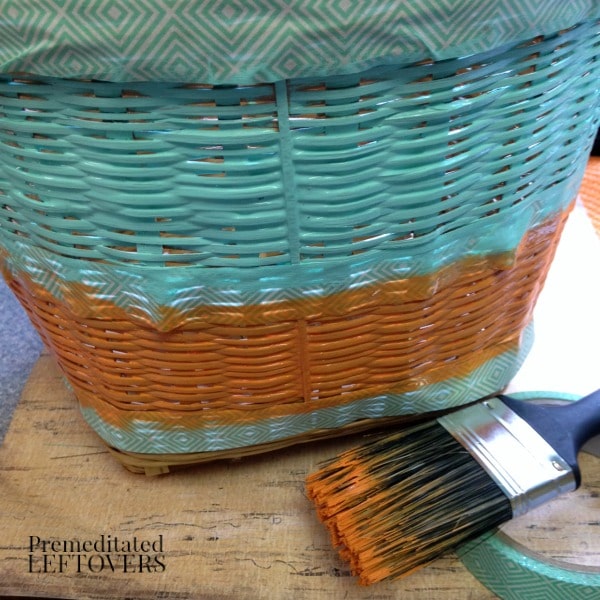
4. You can decide if you wish to add an additional coat of paint. For a more rustic look, leave it as is. For a more finished look, add an additional coat of each color.
5. Allow the paint to dry for one hour. You can then carefully peel the tape off the basket and see the nice clean lines it makes!
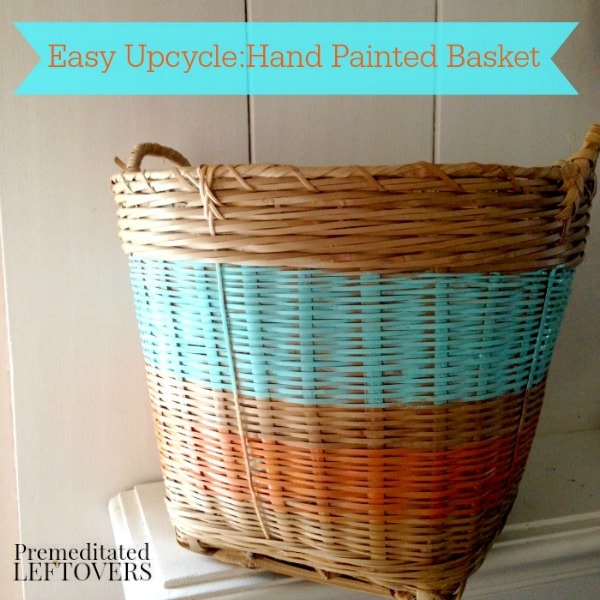
Your hand painted basket is now complete and ready for use. It would make a great storage piece, gift basket, dorm room organizer, or even toy basket. Use colors that compliment your space, and you will have the perfect frugal décor piece on your hands!
Give this hand painted basket a try and see how simple it can be to turn a plain basket into something stylish!
More Home Decor Crafts
How to Make a Mossy Monogrammed Door Hanger
How to Make a Pool Noodle Candle Holder
DIY Washi Tape Party Silverware

Joanne/WineLady Cooks says
Hi Katie, Thanks so much for sharing this terrific tutorial on how to paint a basket. So many of us love using baskets for storage, this is a great way to dress them up. Thanks for sharing this with Foodie Friends Friday party last week. I’m featuring your post on my blog post for this week’s party which starts tonight @ 9:00 PM EST and it’s featured on the Foodie Friends Friday Daily Dish Magazine.
We look forward to seeing you soon with another terrific post.
Joanne/WineLady Cooks
Nicole says
Wow, I would never have thought to do this with a basket and it looks great! Thank you for sharingwith us at the #HomeMattersParty this past week. Hope to see you again next week!
Sonja says
Great tip for updating a boring old basket. Really makes them look more contemporary and fresh. Thanks for the idea!
Beverly says
This was such a timely post. I have this basket that I want to paint and thought about it over the weekend. I didn’t get to it but now I know how to do it. Love how yours turned out.
Thanks for sharing,
Bev