
If you love the look of natural materials, this monogrammed and mossy door hanger may be perfect for your space. You can make your own mossy monogrammed door hanger, using less than $10 in craft store supplies. As you may know, that is a fraction of the cost of what something like this would cost you new in a retail shop. Take a look below at how you can craft your own monogrammed and mossy door hanger in just minutes, and just in time for the changing seasons.
How to Make a Mossy Monogrammed Door Hanger
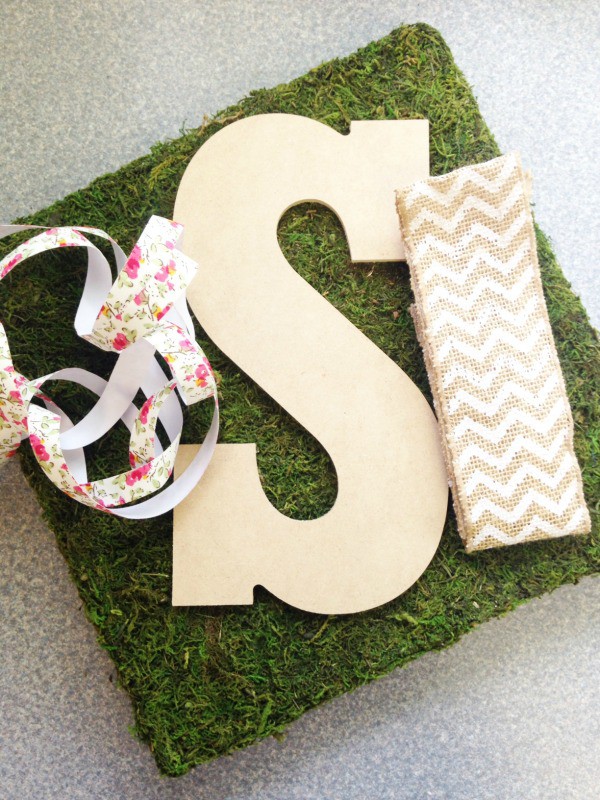
Supplies needed:
Faux moss/foam square (About $5 at Michael’s Craft Store)
THIN particle board letter of your choice (particle board is better than regular wood as it is lighter and will attach much easier to the moss)
Washi tape in choice of pattern and color (We used fabric washi tape from Dollar Tree)
Hot glue, glue gun
Scissors
Thick ribbon
Directions:
1. Begin by preparing the letter that will go on your door hanger. Start applying washi tape across the letter, pressing firmly as you apply it. Snip off any extra, and secure the ends over the sides of the letter with hot glue.
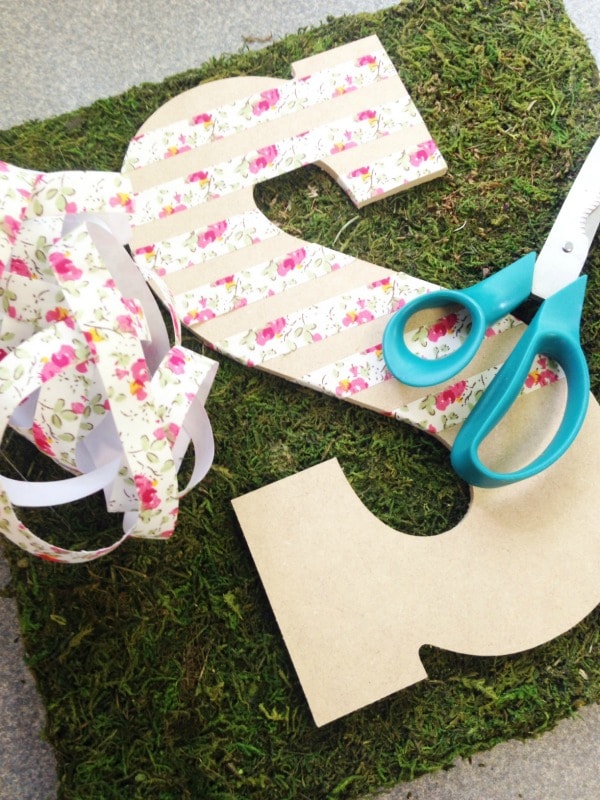
2. You can place your lines as close or far apart as you wish. Go for the look that works for you. If the washi tape is too much for you visually, try a natural letter or painted one instead.
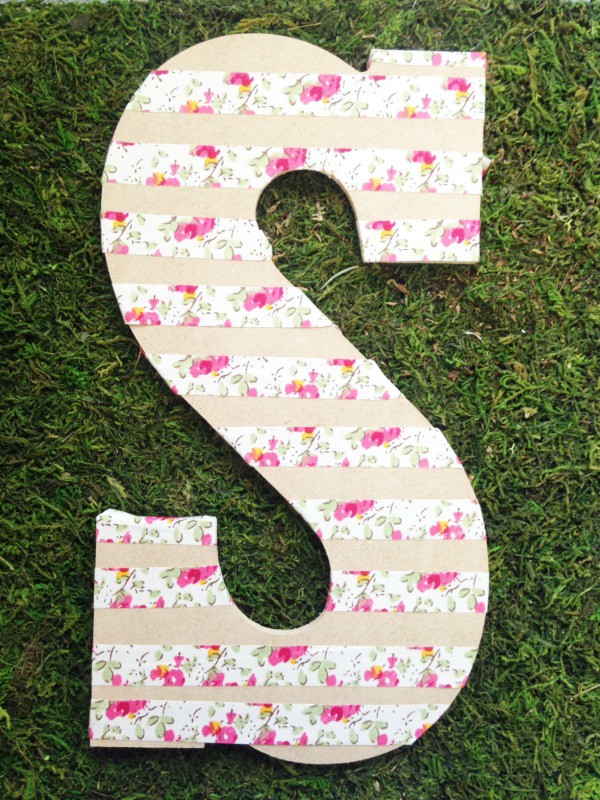
3. Once the letter is covered in the strips of washi tape, you can prepare to apply it to the moss. To do this, you will need to use a generous amount of hot glue on the back of the letter. Press it firmly to the moss and hold it down with a heavy object for 3-5 minutes. You really want it to adhere well, which is why you want to use a thin letter that is particle board and not heavy wood.
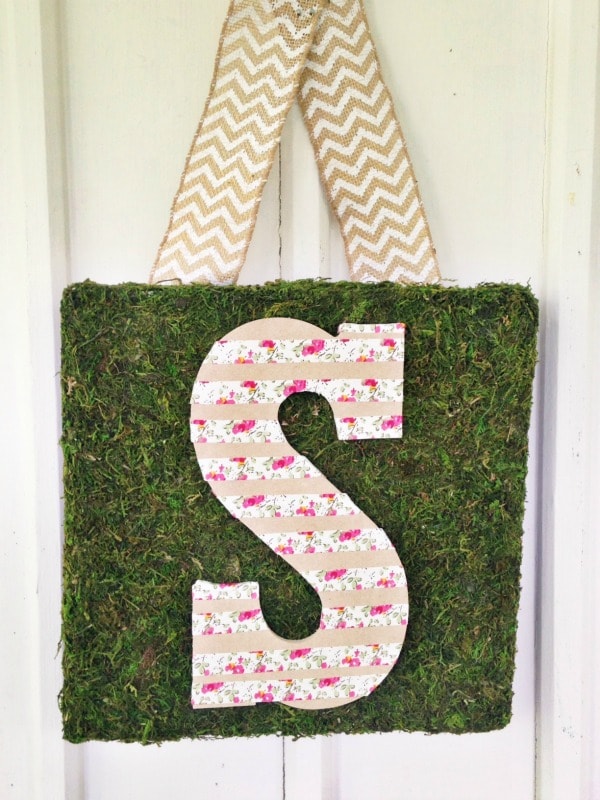
4. Next, attach the ribbon for hanging. Use a thick ribbon that is durable and can hold the weight of the square well. Add some hot glue to the ribbon ends and press them to the back of the moss square. Hold in place until nice and secure.
Your mossy and monogrammed door hanger is now ready to be hung up. As you can see, it is perfect for your front door or entrance to any space for that matter.
Gather your supplies and give this easy DIY project a try. If you can’t use this piece for yourself, it would also make a great wedding or shower gift for a newlywed couple or anytime a personalized gift would do the trick!
More Frugal Spring DIY Projects
How to Get Your Porch Ready for Spring
DIY Flower Pots with Sisal Twine Rosettes
DIY Embossed Terra Cotta Flower Pot

Katie says
I love how this door hanger turned out. I am actually looking for something to hang on my mirror for summer and this would be perfect! Thanks for sharing 🙂
Katie
cathy says
I love how nice this DIY project turned out! I would love for you to share this over at my new link party Making Memories Mondays going on now!
Cathy