Adding or updating the knobs and pulls on your kitchen or bathroom cabinetry can be one of the quickest and most affordable ways to update a room and Installing Cabinet Hardware is something you can easily do yourself. Cabinet hardware can say a lot about you and about your space. The style and the finish of knobs and pulls can sometimes make a kitchen or bathroom seem very outdated. If your cabinets are without hardware, adding something fun and stylish can really liven up your space! If you’ve never installed cabinet hardware yourself, this is a pretty easy tutorial to follow.

The cabinets in my kitchen are fairly basic with not a lot of detail to the doors and drawers. This made choosing a location and style for my knobs and pulls very easy. My slate was wide open as I did not have existing hardware to work around holes in certain spots or with specific spacing. Speaking of spacing, that is something that can be really tricky! If your cabinets have existing hardware on them, specifically if they have pulls (handles), you will need to measure the distance from the center of screw hole to center of screw hole to make sure the new hardware you select has the same spacing. Not all pulls have the same distance between the mounting holes.
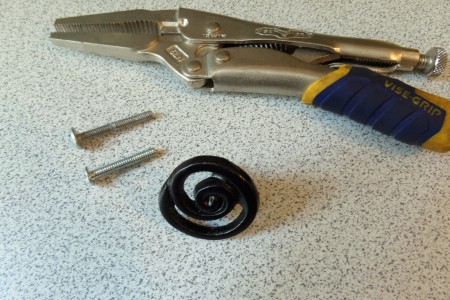
If you’re replacing existing hardware, there isn’t much more to it than making sure the new hardware will line up with the existing holes. After you’ve found your new pieces, unscrew the old and clean your cabinet surface thoroughly. You’d be surprised at the build up that can occur on your cabinets, especially near knobs and pulls. Most knobs and pulls come with screws for attaching but they may not be the appropriate length for the thickness of your doors and drawers. You can often use the screws from your old hardware or you can purchase “break off screws”. These screws are specially made with deep grooves scored into the threading that allows you to easily snap them off at the right length using pliers. Most cabinet hardware will use the same type and size of screws so they are pretty interchangeable.
These are break off screws.
Installing Cabinet Hardware
If you are adding knobs and pulls to cabinets that previously did not have any, the first step after selecting hardware is deciding location. If your door has a framed look to it, you will likely want to center your knobs in the frame of the door. Drawers will typically have a knob or pull centered or centered but slightly above the middle of the drawer. Once you’ve decided on a location for the knobs and pulls, use a piece of cardboard to make a template.
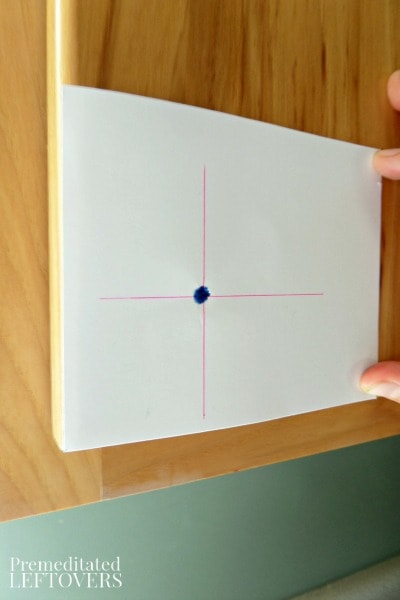
The template will have a small hole where the hardware should be located and the outside edges of the template should line up with the outside edges of the cabinet door as shown. Use a dry erase marker to mark the location through the hole in the template.
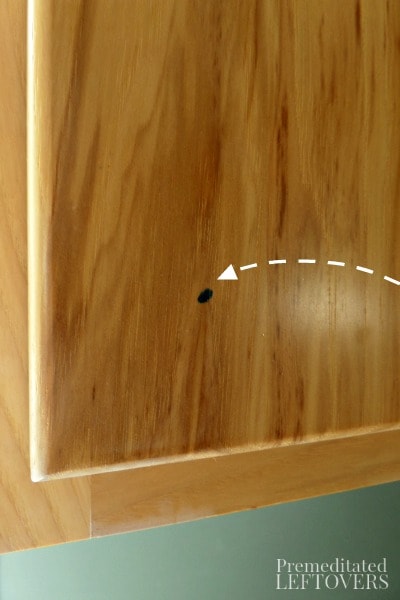
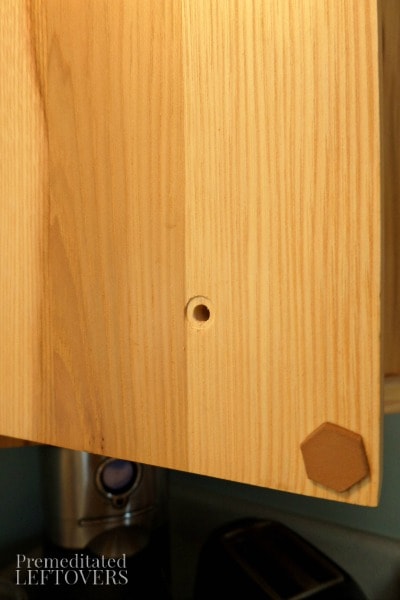
After you have marked the locations for all of your hardware, you’ll begin predrilling the doors and drawers. Select a drill bit that is the approximate size of the hardware screw and carefully drill all the way through the doors and drawers. Remember that drawers will not only have the drawer face thickness but the drawer box thickness as well so they will require drilling through 2 pieces of wood.
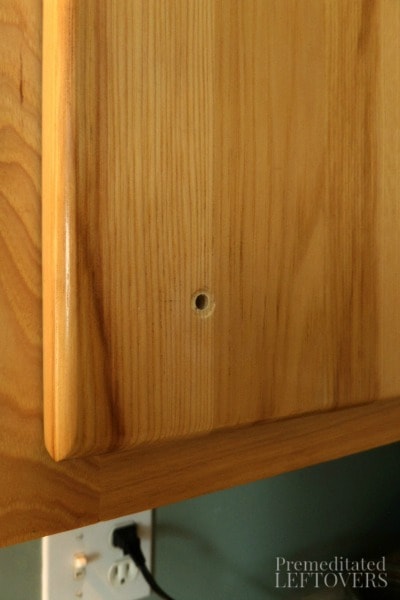
If you have the appropriate tool for your drill, you can counter sink the hole slightly. This will keep the knob from sticking out quite so far, prevent it from coming unscrewed as easily, and on the backside, it will let the screw set more flush with the door.
Once the holes are drilled, insert the screws from the backside and use a screwdriver or electric screwdriver to secure the new hardware in place. As with replacing hardware, if the screws that came with the knobs are too short, break off screws are perfect for the job.
You’ll be amazed at the difference new cabinet hardware can make in your kitchen or bathroom!
More Frugal DIY Home Decor Ideas
- How to Make Chalk Paint
- Tips for Painting Walls Like a Pro
- 5 Tips for Perfectly Painted Furniture
- How to Decorate Furniture with Decals
- How to Make a Fabric Strip Valence
- How to Convert Recessed Lighting to Pendant Lighting

Leave a Reply