
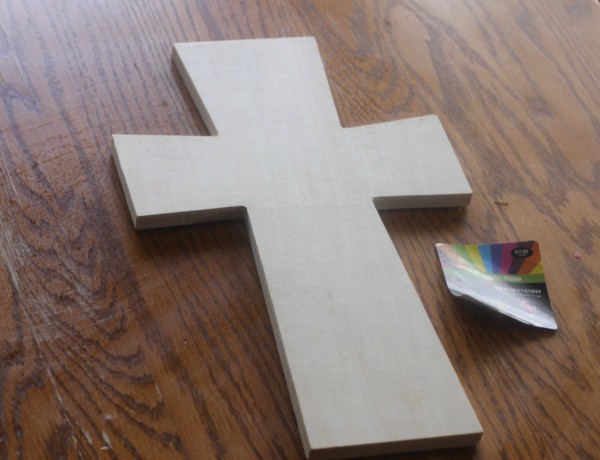
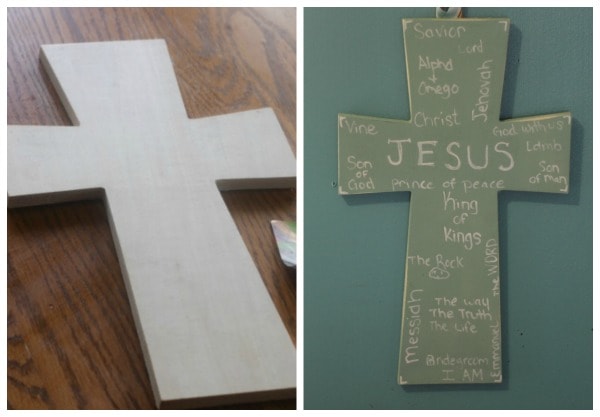
This is a fantastic project to add some handmade and faith-filled decor to your walls. I love to declare my faith, but I am also admittedly frugal and of course, I just really enjoying making things from my own hand. When I was looking for a new piece I turned to my favorite craft store for the bare bones. I found this unfinished cross at Hobby Lobby for $10.99 and used my 40% coupon. The paint, paint pen, and sandpaper I already had on hand, making for a pretty thrifty craft.
I decided to turn this craft into a Bible lesson as well for my children by including them at least somewhat in the process. I started by asking the children if they knew any other names for Jesus and we wrote those down. Then, we searched through the Bible looking for more and listed those as well. The end result was this handmade Names of Jesus Cross Craft.
Names of Jesus Cross Craft
Supplies:
- Unfinished wood cross, any size
- spray paint
- white paint pen, fine tip
- sand paper
Directions:
1. Lightly sand the rough edges from your wooden cross.
2. Wipe away excess dust.
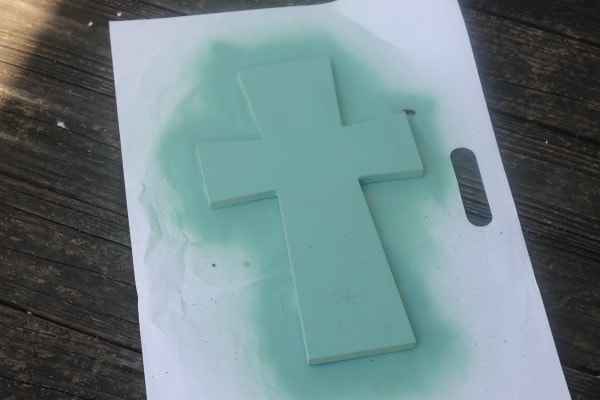
3. Outside and in a well ventilated area, spray with 3 to 4 coats of paint. Allow 5 minutes to dry between each coat and 30 minutes after the last coat before moving to the next step.
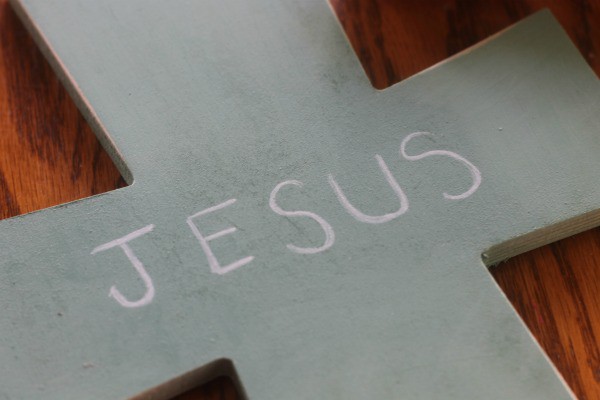
4. You can go about the next step one of two ways. You can plan where you will put each name and sketch it out with light pencil marks, or free hand the writing. Choose whatever way you are comfortable with. If you have an older child you might consider letting them write the names. What a treasured keepsake that will be when they are older, to have a piece they made in honor of the Savior in their own handwriting! With this in mind, I went with free hand. I have a very reluctant writer on my hands and while he enjoyed the simple lesson he was not about writing it out twice! I started by writing JESUS across the middle large with my paint pen.
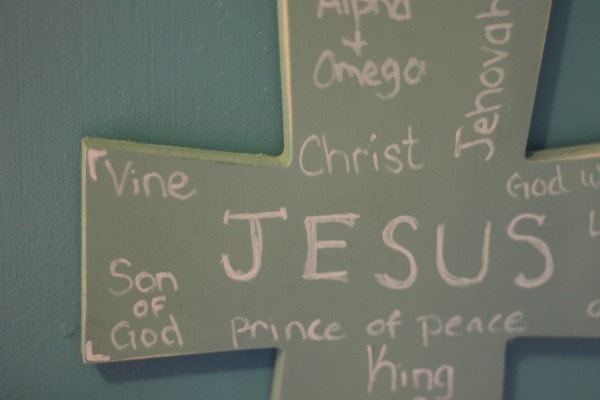
5. The fill around the rest of the cross horizontally and vertically until you are happy with how it looks. Add some flourishes, dots, or other designs on edges or corners if you like.
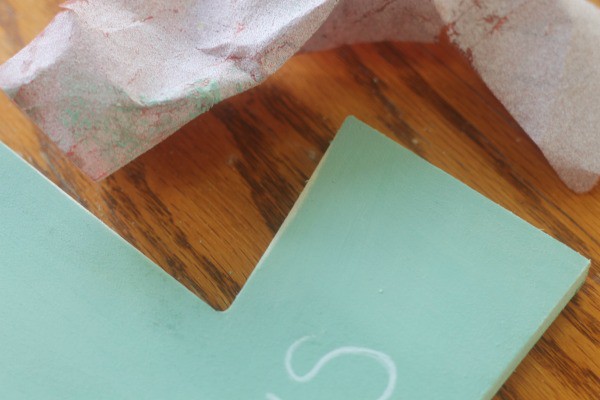
6. Now take your sand paper and rub off some of the paint all around the edges and each corner to give it a bit of a worn look.
7. If you like, give it a coat or two of clear finish to protect it.
More Faith-based Crafts and Activities:
The Old Rugged Cross String Art Craft
DIY Advent Wreath Craft for Kids
Heart of Christmas: A Christian Alternative to Elf on the Shelf

Leave a Reply