Painting your kitchen cabinets is one of the easiest and most budget friendly ways to update the space. This may seem like a daunting task at first, but when you break it down by steps you will find that it is in fact quite a simple and doable process. If you are ready to give your kitchen a fresh look, take a look below at some helpful tips on How to Properly Paint Kitchen Cabinets so you can be sure the job is done right.
How to Properly Paint Kitchen Cabinets
1. Remove all hardware.
Your first step is to remove all of the hardware from the cabinets. This means handles, drawer pulls, and hinges. Don’t skip this step even though it can be time consuming. It is important that the hardware come off so the cabinets can get full coverage. Now is also a great time to think about spraying your hardware for a new look!
2. Clean cabinet surfaces.
Use a mild soap such as Dawn and hot water to clean the cabinet surfaces. Scrub them well and dry them thoroughly. Don’t use any kind of soap that will leave a film or residue on the surface. You want something that will rinse clean which is why Dawn is recommended.
3. Prepare cabinet doors.
Once your hardware is removed, including the hinges, you will have your cabinet doors to deal address. Begin by laying these flat on a drop cloth where the paint can be applied. Only lay the cabinets on a flat surface away from anything that could disturb the paint or painting process. A well ventilated area works best.
4. Start sanding.
Sanding your cabinets will help the primer and paint adhere better. Use a mid grade sanding pad and auto sander and gently go over all surfaces. A face and mouth mask is advised so you don’t inhale chemicals or debris. Also, if sanding over exceptionally older cabinets, you will want to test for lead paint before starting this process. A test kit is available at most home improvement stores. Repeat step one and wash/wipe clean when done.
5. Apply primer.
Find a quality primer that can be used to prime the surface you will be painting. It is best to use a 2 inch roller to roll the primer onto the cabinet surface. Apply two coats of primer, and allow the paint to dry well in between applications. Apply the primer to all surfaces including the cabinets doors and base.
6. Choose the perfect paint.
You want to choose a durable paint that is washable and will resist wear and tear. Look for a paint that is suitable for a high traffic area. A satin finish is preferred, and you should always avoid flat or high gloss finishes. Be sure to try paint swatches and samples to test the color and to make sure you are picking a color that suits your tastes.
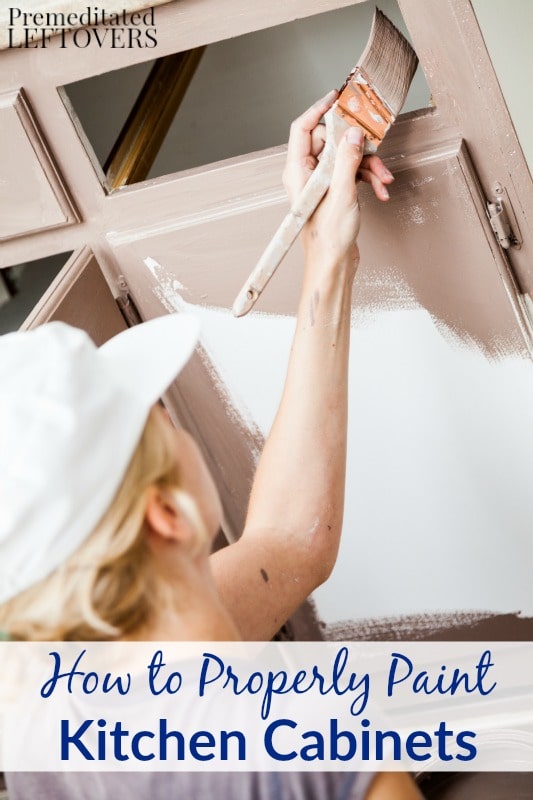
6. Start painting!
Use a small roller as mentioned above to apply paint to the large and flat surfaces. You can then use a handheld trim brush to make sure all small spaces, corners, and trims are addressed. Apply two coats, making sure you let coats dry well in between application.
7. Apply a finishing coat.
A finishing gloss, sealant, or surface protector can help protect your paint job for years to come. Once your paint has had the chance to dry for at least 24 hours, apply a sealant to protect your work.
8. Replace hardware.
Once your paint and sealant are dry, you can replace the hardware and put the doors and drawers back in place. Should you wish to paint your hardware, a Rustoleum brand spray paint designed for metal is ideal. Just apply two coats, allow to dry, and you are all set.
When you give these steps a try, you can achieve results just like the professionals! So say goodbye to your boring and bland kitchen and say hello to a freshly painted one. It is easier than you might think!
More Frugal Home Improvement Tips
How to Save Money Painting a Room
Frugal Ways to Make Necessary Home Repairs
How to Redo Your Dining Room on a Budget
7 Ways to Update Your Front Door
7 Ways to Update Your Front Porch

Nazia says
I’ve been wanting to paint my cabinets for a couple of years now. Your step system makes this whole process seem achievable for a first timer like me. Thank you !