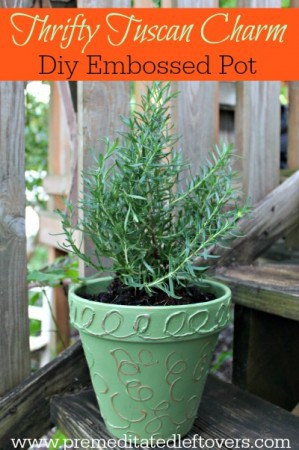
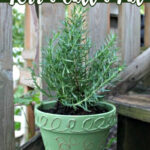
Turn a simple terra cotta pot into an elegant Embossed Terra Cotta Pot. This is an easy DIY planter for your indoor and outdoor plants.
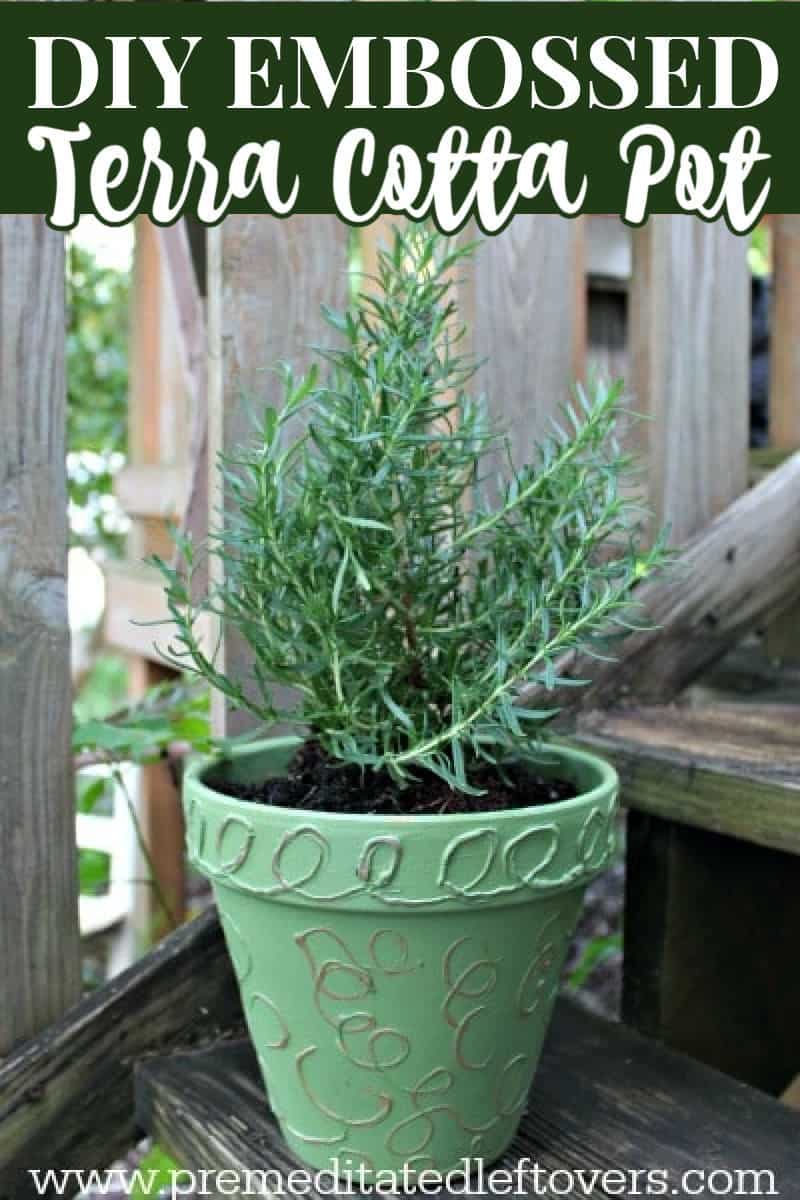
I love the look of pretty embossed pots at the home improvement stores but the price tags can be a little bit ridiculous. Even a moderately small pot had a price of $24.99 and that just isn’t in my budget. I thought there had to be a way to make my own for a more reasonable price and could even design the look myself. So I bought a medium-sized terra-cotta pot, brought it home, and stared at it on and off for a couple of hours until I finally had an idea.
Hot glue can give an inexpensive Terra Cotta clay pot the look of a more expensive decorative ceramic pot. A cordless hot glue gun is convenient if you are working in your yard, far away from a plug.
This Tuscan-styled planter would be beautiful indoors or out and is simple to make in any size. Make two large matching pots to flank a doorway or 3-4 small ones to group herbs together on your front porch. You can also draw out the names of your herbs right on the rim of your pot for a pretty and unique set.
DIY Embossed Terra Cotta Pot Tutorial
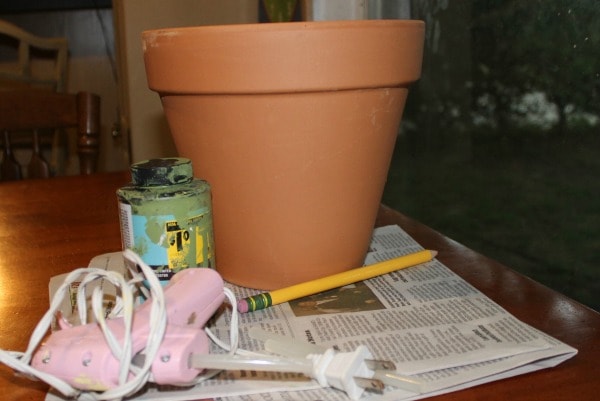
Supplies Needed:
- Medium to Large Terra Cotta Pot
- Hot glue gun
- clear glue sticks
- Craft paint
- Paintbrush
- Rag
Directions:
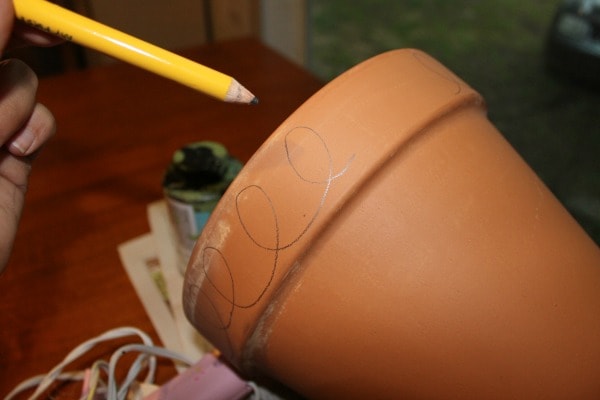
You can freehand your design or draw it out with a pencil on the terra cotta pot. I traced out a loop design on the rim and free-handed the rest of the pot.
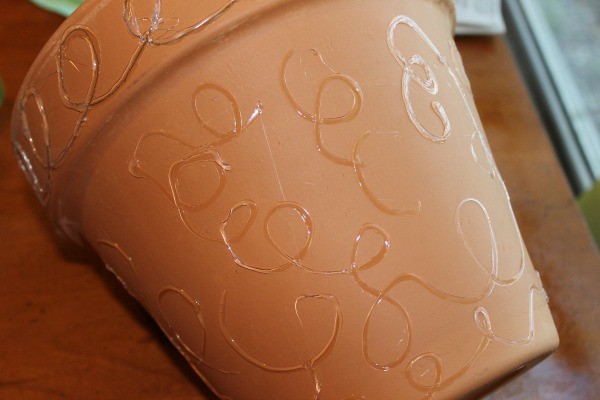
When your glue is hot and ready “draw” your design, moving the glue gun in an even and steady motion.
When your glue is dried and hard ( it sets quick). Brush a thick coat of paint all over the pot, paying extra attention to crevices and around raised areas.
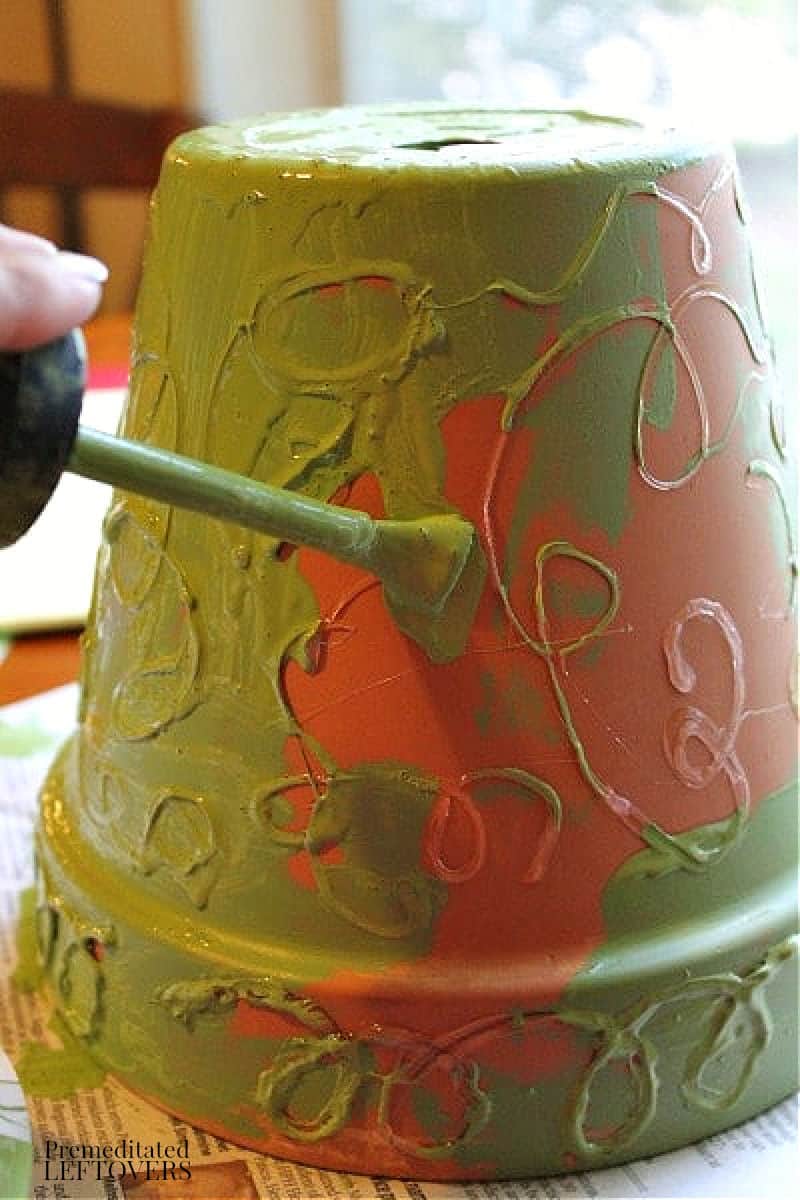
While the paint is still wet, wipe off the excess paint on top of the raised portion of the surface. This will allow the color of the clay post to come through the clear glue.
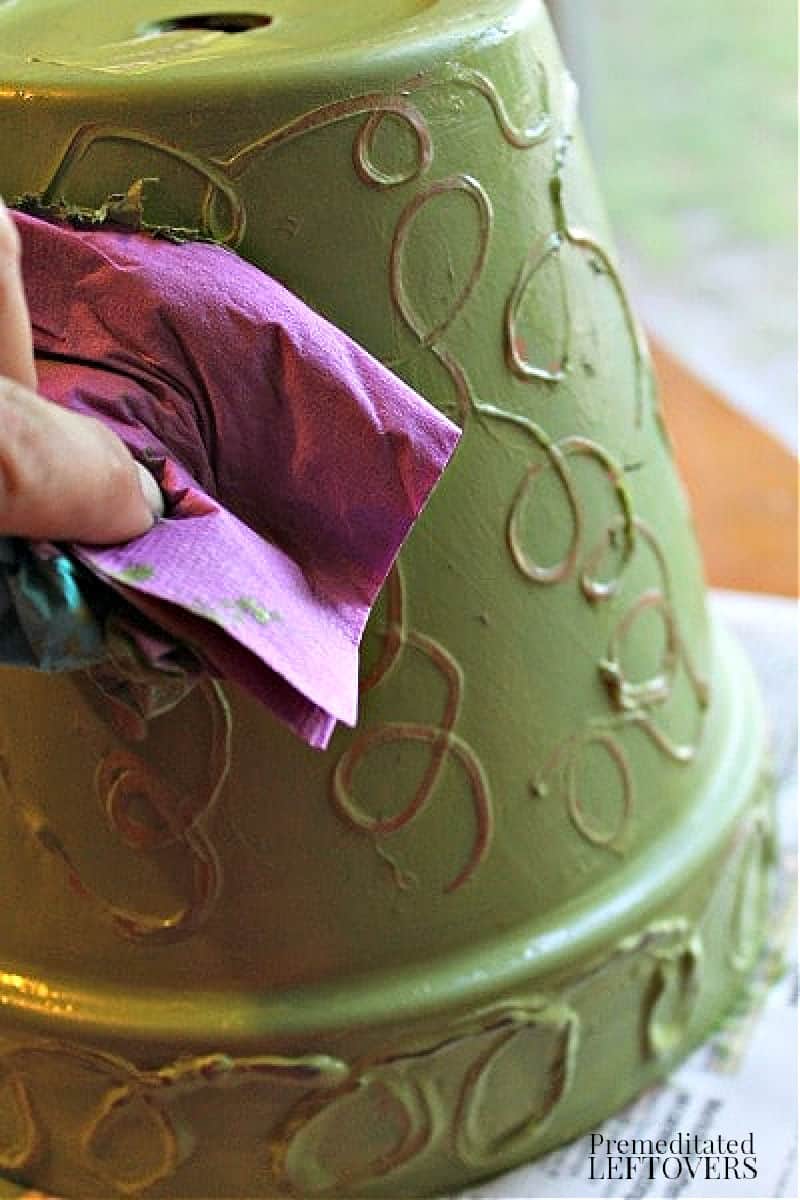
Allow the pot to dry well before filling with soil and a plant.
Printable Directions for DIY Embossed Terra Cotta Pot
DIY Embossed Terra Cotta Pot Tutorial
Equipment
- Medium to Large Terra Cotta Pot
- Hot glue gun
- glue sticks
- Craft paint
- Paintbrush
- Rag
Instructions
- You can freehand your design or draw it out with a pencil on the terra cotta pot. I traced out a loop design on the rim and free-handed the rest of the pot.
- When your glue is hot and ready "draw" your design, moving the glue gun in an even and steady motion.
- When your glue is dried and hard ( it sets quick). Brush a thick coat of paint all over the pot, paying extra attention to crevices and around raised areas.
- While the paint is still wet, wipe off excess.
- Allow the pot to dry well before filling with soil and a plant.

Lillian says
What kind of paint, I use acrylic, which dries fast.
Terry says
I’m going to try this on a pot tomorrow! Fun idea!
Carol says
Always looking for new ideas…and this is a ripper! (Ripper…Aussie for great!)
Kathy says
Do you spray anything on afterwards?
Kendra says
This is ingenious! I am anxious to try this cool idea today. Thank you for your inspiration.
Cindy says
Would you also spray sealer before the hot glue and paint?Ci
D says
I definitely would. Otherwise paint will bubble and flake off.
Kim says
Paint will flake off from moisture if pot is not painted on the inside also
Sherry says
Yes! Terra cotta absorbs water, from the inside in this case, so the glue and paint eventually will flake off.
I love this idea but I think perhaps spraying the inside and outside of the pot with maybe be shellac ( have to reseach this) before adding the glue and paint. There’s still a hole in the bottom for drainage.
To use as posted put another potted plant in it. It’d be cute indoors
Barb @ A Life in Balance says
Such a cute and easy pot idea!
Mary says
I think so too & I will be trying tomorrow also
Audra @ Renewed Projects says
Very helpful tutorial! Gorgeous green color.
Beverly says
What a clever pot update. I love t.
Bev
Becky Ramirez says
Can’t wait to get started , it’ll give something to do at this time.
Stay Safe!!