
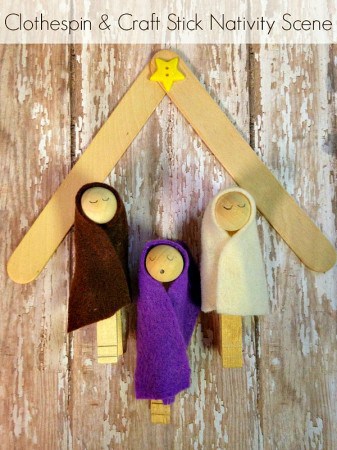
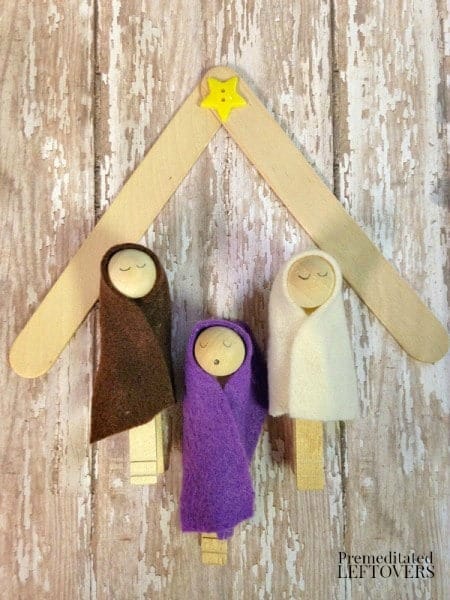
This DIY clothespin nativity scene with a Popsicle stick stable makes a great Christmas craft for kids.

![]()
Making a Nativity scene with your child is a great way for them to further understand the Christmas season. Take a look at how we crafted a Nativity scene both easily and inexpensively that is perfect to add to your holiday decor. This Clothespin Nativity Scene with a Popsicle Stick Stable is great for small hands and to do as a family. Here is how you can get started crafting your own!
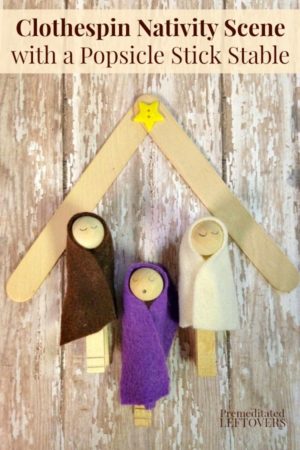
Clothespin Nativity Scene with a Popsicle Stick Stable
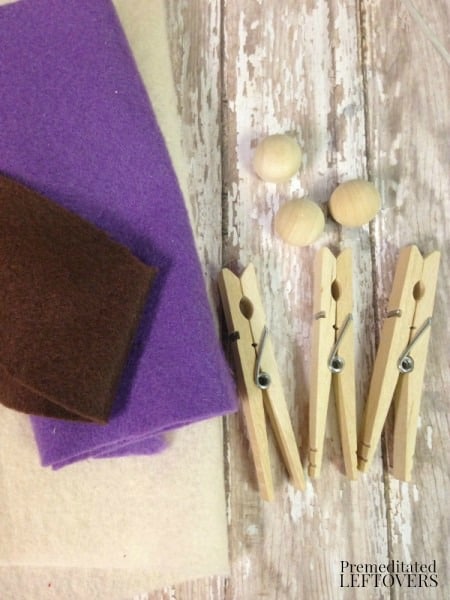
Materials:
- 3 wood clothespins
- 3 wooden doll heads
- Assorted crafting felt
- 1 star button or yellow button
- 2 wood popsicle sticks
- Scissors
- Pencil
- Hot glue, glue gun
You can find everything you see here at your local craft store, and sometimes even at dollar stores. They are all fairly inexpensive supplies and a package of each will give you enough to make several Nativity scenes.
![]()
Directions:
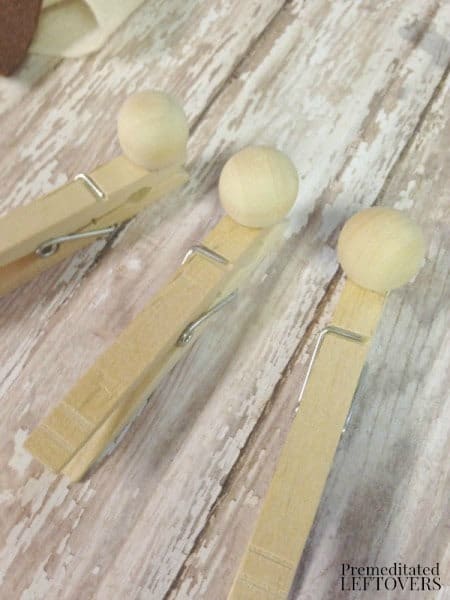
1. Begin by attaching the heads to the wooden clothespins. Do this by applying a generous dab of glue and pressing the head to the top of the clothespin. Hold in place until secure.
![]()
2. Cut a thick strip of fabric from each felt. You can use three colors if you wish to distinguish the different characters. Wrap the strip around the head like a bonnet. Secure to the body (the clothespin) with glue.
3. Using your pencil, draw a face on the doll head. A simple dot for eyes and line for a mouth is sweet and perfect.
4. Create the stable when you glue two popsicle sticks together into a wide V or an arch. Attach a star (we found this star button at Dollar Tree) with craft glue.

![]()
Your Clothespin Nativity Scene is now ready to be displayed. Add magnets and use it on your fridge, or prop it up on a shelf. Children will enjoy being hands-on with this activity and using the small dolls to tell the story of the first Christmas.
Teach your children about the Christmas season with this Clothespin Nativity Scene with a Popsicle Stick Stable. It is such a sweet and simple craft you are sure to enjoy as a family.
More Christmas Crafts for Kids
DIY Christmas Family Footprint Tree

Leave a Reply