
I recently became the proud owner of my father’s entire collection of old LPs. I love that I’m able to bring the music on these dusty records to life once again, but along with these albums came the giant responsibility to protect them. They are large, heavy, and take up quite a bit of space. Records aren’t exactly the most popular form of music these days, so finding anything to store and organize them in was nearly impossible. When a cabinet shelf they were on started to bow, I knew I needed a better storage solution.
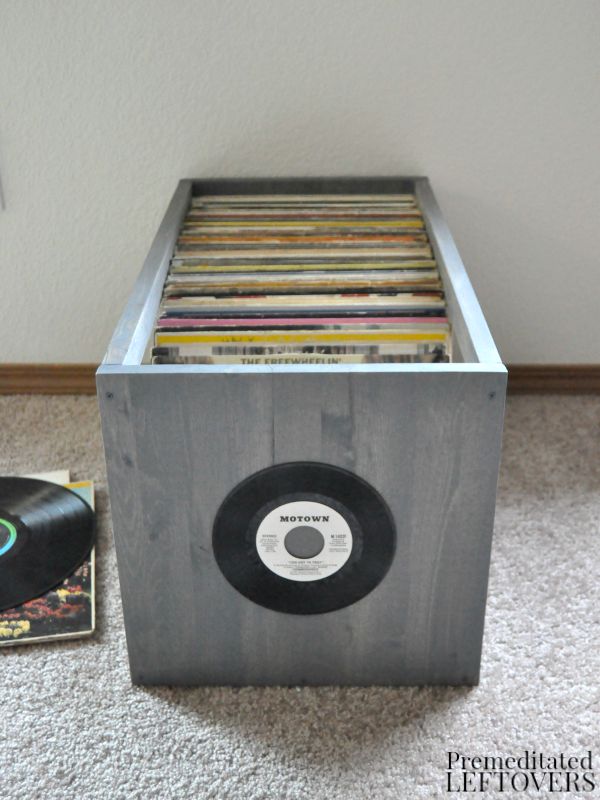
This DIY Record Box is easy to build yet heavy-duty enough for your most coveted records. The open design makes it easy to flip through and identify titles from the top or sides.
DIY Record Box
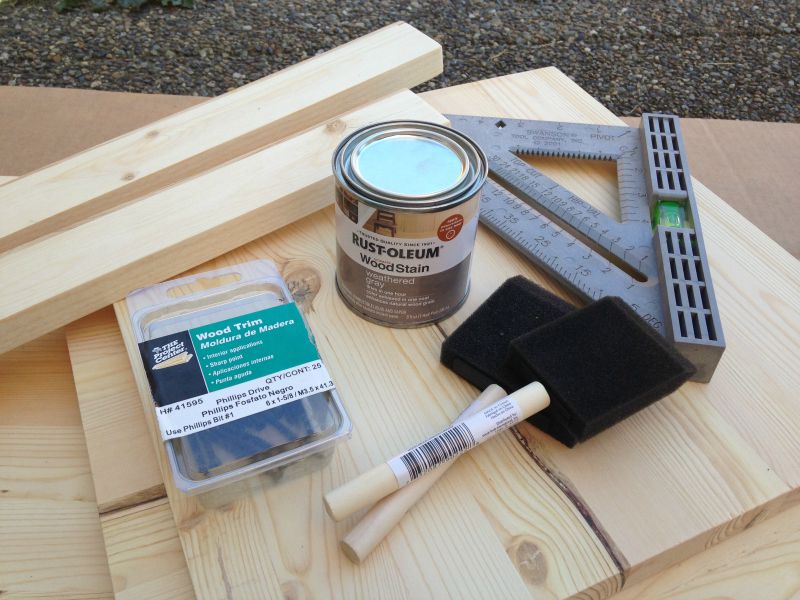
Materials:
- ¾” x 16”x 72” wood panel cut to the following pieces: One 24”x 14” bottom board, two 14” x 14” end panels, and two 24” rails from your remaining wood. If you don’t own a saw, most home improvement stores will cut it for you.
- 1 ¼” wood screws
- Hand drill
- 5/64 drill bit
- Tape measure
- Pencil
- Fine grit sand paper
- Optional: Rust-oleum Weathered Gray Wood Stain, foam brushes, E6000 glue, and two 45 rpm records.
Instructions:
1. Sand your wood pieces down to smooth out any rough edges.
2. Use a measuring tape and pencil to mark your holes before drilling.
3. Mark your first hole ½” in from the left edge and 3/8” from the bottom. Mark your second hole 7” in the middle of the panel and 3/8” up from the bottom. Mark your last hole 1/2” from the opposite side, and 3/8” up. So far, there should be three holes total on each panel.
5. At the top of each panel you will have two more holes at 3/8” in from the edges and 7/8” down.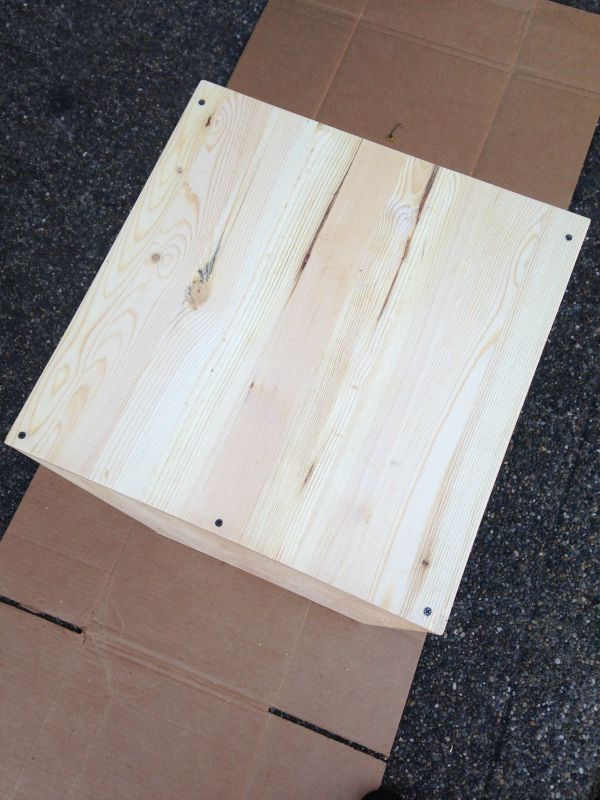
6. Screw each square panel to the larger bottom piece using 3 wood screws.
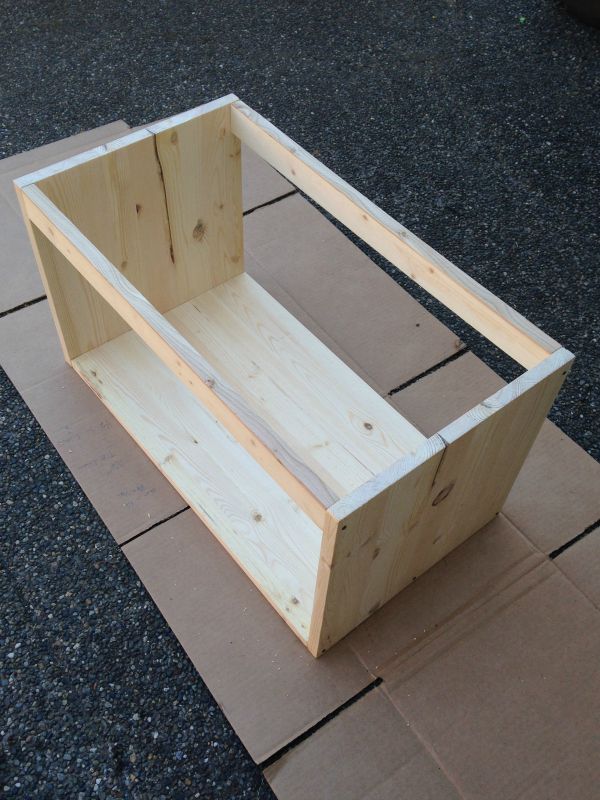
7. Screw the side rails into the square panels. Make sure the rails are flush up against the panels and that your screws are in the middle of each rail.
For a more decorative look, I added a layer of wood stain and attached a 45 to both ends with E6000 glue.
More Home Organization
How to Organize Your Child’s Clothing
DIY Burlap and Fabric Wall Organizer
DIY Vintage Frame Dry Erase Calendar

A swedish reader says
What unit of measure is it?
Nick says
Good idea but I have to disagree with you on records not being the most popular form of music today. You need to get caught up on how popular vinyl records have surged in popularity in the last year .
Jaimeson Hall says
This is awesome. How many records does it hold?
Andrew Johnson says
I guesstimate upto 150 12″/albums
I’m intending to make the same