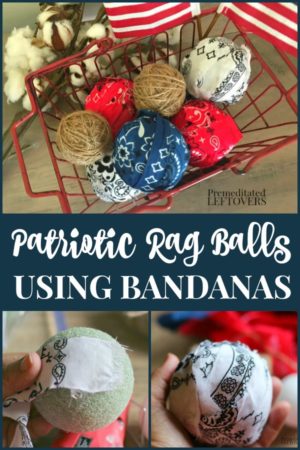
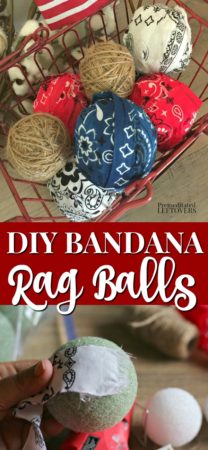
Use this tutorial to easily create Patriotic Rag Balls to use in your home decor.

I have always loved the beautiful seasonal filler balls that sit piled up in glass jars, dough bowls, and baskets but am not too thrilled about the price tag that is usually attached. So, I set about making my own and found out that it was ridiculously simple and inexpensive and wanted to share it with you! This patriotic batch of rag balls is perfect for putting out on the 4th of July, Memorial Day, Veterans Day, or anytime you are feeling that Americana nostalgia! Also, aside from the hot glue, this is a great project to do with your kids.
Bandanas are inexpensive, easy to find, and easy to work with, You can find them at Dollar Tree, Hobby Lobby, and Walmart for just $1 a piece and sometimes, you can find them for less.
Patriotic Rag Balls Tutorial
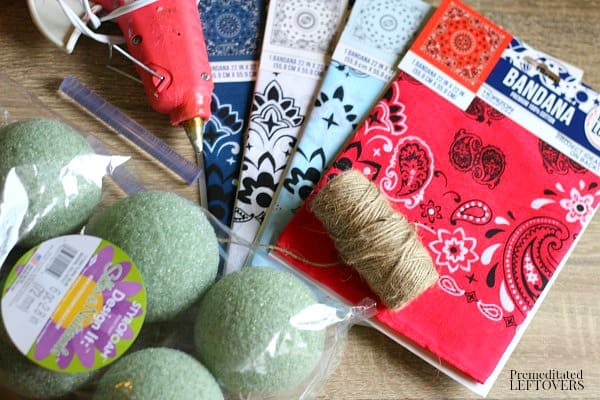
Supplies needed:
- Bandanas or other fabric of your choice
- 4” Foam balls
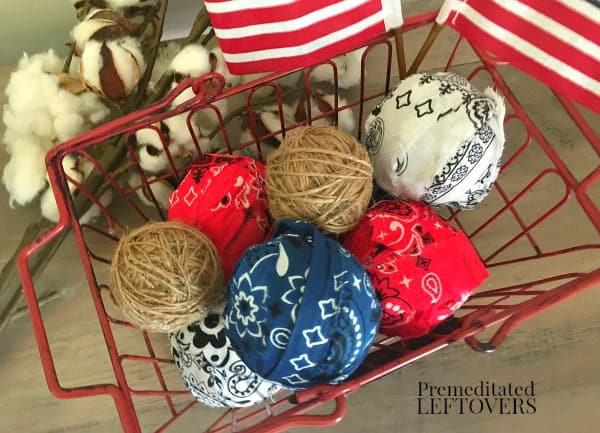
- Twine
- Hot glue gun and sticks
- scissors
Directions:
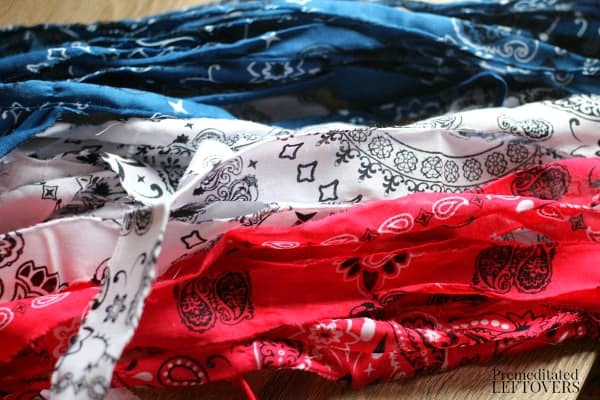
- Cut or rip your fabric into strips somewhere between ½” and 1” wide. Distress the fabric strips a bit by pulling off a few threads from the edges to add some texture, my bandanas naturally frayed as I pulled them so I actually had to trim some of the loose threads away.

- Once you have ripped/cut up a bunch of strips divide them up into piles of the colors/patterns you want to use.
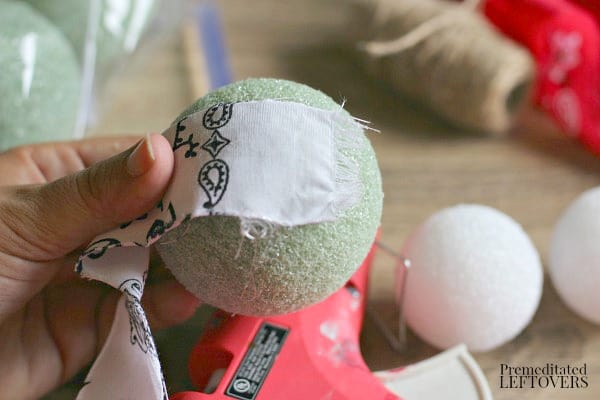
- Start anywhere on the foam ball with a generous dot of glue, press one end of a fabric strip into the glue, I use a craft stick to save my fingers!
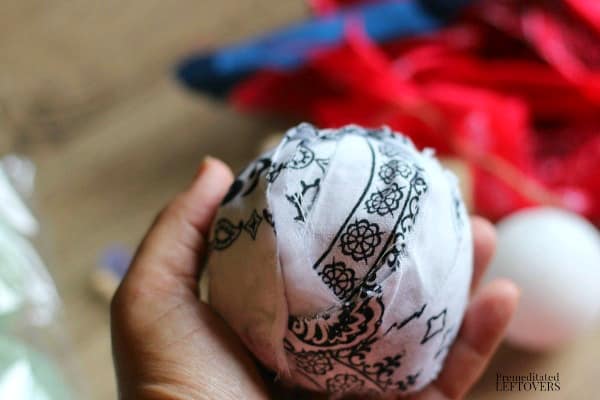
- Wrap tightly around the ball and continue until the ball is completely covered, hot gluing the beginning and the end down and re-gluing each time you start a new strip. Occasionally, where the fabric hoes around a curve you may want to add a dot of glue underneath it so it doesn’t stick up so much.
- Repeat with the other fabric strips and twine until you have created the desired number of balls.
- Toss them into a pretty container and change them out as often as you like with new ones, the fact that they are so inexpensive means you can create neutral ones for your decor or beautiful colors that fit each holiday and season.
Tip: Add a few drops of essential oil to the rag balls to add a natural scent to your balls.
More DIY Patriotic Decor Ideas:
How to Make a Patriotic Duct Tape Banner
Red, White, and Blue Handkerchief Bunting

Leave a Reply