Painting the walls in your home is one project that can drastically and affordably change the look of any room. While selecting the color for a painting project is very important, there are a lot of other factors to consider that can have a great impact on how your project turns out. These tips and tricks will help insure that not only will the new color of your walls be a reflection of your style but will also look like you hired a pro to do the work!
Tips for Painting Walls Like A Pro
Evaluating your project
Selecting the appropriate paint is more than just about finding the right color for your room. While color is important, the type of paint you choose is just as important. Here are some important things to consider when deciding what paint and products to purchase.
What condition are your walls in?
- Are they new drywall that will absolutely require a primer coat?
- Are they already painted with a color darker than you plan to paint them?
- Are they currently painted with oil based paint or water based or are you unsure?
- Are you painting over paneling?
- Are there a lot of holes or existing patches in the walls or is the drywall job less than perfect?
Preparing your walls and selecting the right product will make a big difference in how well the painting process will go as well as what the life of the paint will be once applied. It can also determine how well the finished product will look once applied.
Do I need to prime?
Priming your walls is one of the single most important parts of many painting projects. New drywall, existing drywall, existing paneling, and other surfaces often need a primer coat before being painted. Most do-it yourselfers know that new drywall needs to be primed but are not aware of the reasons to prime other surfaces. Primer will seal in stains to prevent them from bleeding through new paint, will prepare the surface of paneling so new paint will adhere to it, will lessen the number of coats needed to cover a dark paint, and will create a neutral surface for new paint. Water based paint is a very easy paint to work with and is often preferred but will not hold up well when painted over existing oil based paint and can actually wash right off of a wall painted with oil based paint. A good coat of primer will give your water based paint a much better base to adhere to. Priming walls painted with gloss or semi gloss paint is also a good idea to insure the new paint will hold up better. If there are a lot of patches in the surface, priming your walls will make a much better base for even coverage of new paint as well.
Wall condition and paint finish
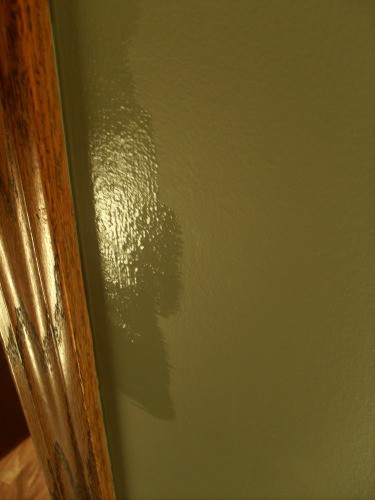
The condition of your walls should also direct you to what finish you should choose for your project. Do you want an eggshell, gloss, semi gloss, or flat paint for your project? The higher the sheen of the paint, the more imperfections will show. The sheen will reflect light causing patching or imperfections in drywall to be very visible, especially in rooms with a significant amount of natural lighting. The lower the sheen, the less light reflection, and the less noticeable flaws will be in the surface. Years ago it was believed that flat paint was not durable but new technology has brought many great changes to paint and now there are many durable flat paints available that are just as washable as a semi gloss! Flat paint will provide deeper, richer colors as well as helping to conceal flaws in the surface.
The wall surface will also influence the type of roller cover you should use. The more imperfect the walls, the thicker the nap you’ll want for the cover. The thicker nap will leave behind more paint, creating a slight texture (like orange peel) which will help to hide where patching has been or needs to be done. A short nap will not hide these imperfections and can actually draw attention to a less than perfect paint job.
Not all paints are created equally
Do your homework, ask friends, and choose your paint wisely. Not all paints are of equal quality, as durable, low VOC, or as washable. One brand may be $10 per gallon while another could be over $60. While you may not want to spend the money for $60 per gallon paint on some projects, there are other projects where it is important and well worth it!
Getting Started
Once you’ve decided on a color and determined the finish of paint you will use and whether or not you need a primer, you’ll begin prepping your surface.
- Fill any holes or imperfections with spackle. Wait for the spackle to dry, lightly sand the patches. Apply a second coat and repeat sanding if necessary.
- Scrape away any peeling, cracked paint, and sand the area smooth.
- Clean the walls, especially in a kitchen or bathroom where there may be a build up of any kind. Use a damp cloth to clean the dust off of trim, tops of doorways, and around any fixtures.
Painting like a pro
Now, you’re ready to begin painting (or priming and painting). Here are some tips to help the job go as smooth as possible and for the finished project to look as neat, clean, and professionally done as possible.
- Always cover the floors with a drop cloth or old sheet to avoid messes. Even the best painter can have a mishap where paint spill or drips but that isn’t the only reason to cover surfaces. All paint splatters regardless of who is painting it. Those splatters may not be noticeable as they happen but when you go back later, you’ll find your flooring dotted with paint. Unless you are painting a room with only a subfloor or flooring that will be torn out, make sure to cover it.
- Taping is an optional step, especially if you have a good brush and are able to keep steady. A good quality angle brush (2.5” is my preference) will make a huge difference in how neatly you’re able to cut in. Cutting in (painting along the trim, ceiling, and corners) with a brush should be done before rolling paint, regardless of whether you choose to tape off or not. Even if you are great at cutting in, you may still want to tape and cover trim.
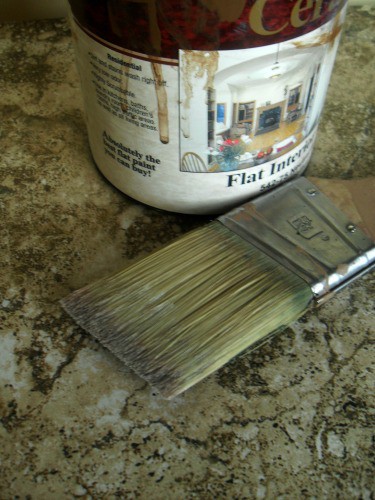
- When painting with a brush, only dip ½” or less into the paint, wipe off one side of the brush on the edge of the paint container to remove access paint and prevent dripping and running. It will also preserve the brush and give keep the tip of the brush tighter for a more precise line.
- Don’t try to make your paint go too far. You don’t want to apply so much that it will be running down your walls, but trying to stretch it too far will leave you with an uneven, patchy coverage.
- When painting with a roller, try to cover approximately 3 foot of wall to a time, painting in long, continuous strokes. When painting with a brush, don’t dab the paint on or move.
- Always follow dry time requirements for paint. If you begin the second coat before the first is dry, your first and second coat can end up with lots of imperfections.
- Always apply a second coat of paint, even if the first coat looks good to you. This is important to insure a good durable finish and if your paint carries a warranty, a second coat is required.
- Between coats or at the end of the day, store paint roller covers in plastic bags and tie shut. This eliminates the need to wash your covers and wait for them to dry. The bag keeps the roller fresh and moist and it is ready when you are to start painting that same color again. Be sure to wash brushes when finished and allow to dry thoroughly before using again.
- Allow your second or final coat to dry completely before doing any touch up work. Once you’ve done any touch up work, give those areas at least 24 hours to dry before you worry that the paint does not match right. The paint will “cure” as time goes on.
- Do NOT wash or scrub your walls for several days. Again, paint has to “cure” to reach full durability.
While this seems like a lot to think about, these tips and suggestions will make a big difference in how well your painting project turns out. Take a deep breath and get started. Happy Painting!
More Frugal DIY Home Decor Ideas
- How to Make Chalk Paint
- 5 Tips for Perfectly Painted Furniture
- 10 Ways to Repurpose Old Suitcases
- How to Decorate Furniture with Decals
- DIY Vintage Dresser makeover
- How to Make a Fabric Strip Valence
Racquel is a stay at home mom with an extensive background in interior home design. She loves baking & creating beautifully decorated treats, cooking new and unique recipes for the whole family, designing and decorating on a budget with upcycled projects, and making kid and grown-up crafts. You can find her at Creating, Cooking, and Kiddos.


Jennifer says
I was also wondering the paint color name/type. thanks!
Tina Golden says
What kind of paint is this and what is the color name? Please and thank you. 🙂