• Home
  • About
    • Privacy Policy
  • Blog
  • Prep-Ahead Meals Cookbooks
  • Recipes
  • Lifestyle
  • Gardening
  • Kid’s Activities
  • Gluten-Free Recipes
  • Budgeting Tips
↑

Premeditated Leftovers™

Prep-Ahead Meals, Cooking Tips, and Frugal Living

  • Cookbooks
    • Prep-Ahead Breakfasts and Lunches
    • Prep-Ahead Meals From Scratch
  • Recipe Index
  • Members Area
    • Member Login
    • Join Us
  • Home
  • Blog
  • Recipes
  • Gluten-Free Recipes
  • Lifestyle
  • Garden
  • DIY
  • Kids
  • Budget

You are here: Home / Naturally Frugal Living / DIY Ceramic Photo Gifts

DIY Ceramic Photo Gifts

December 16, 2014 by Editor 2 Comments

This post may contain affiliate links. Read our disclosure policy here.
367 shares
  • Share
  • Tweet

Follow this easy tutorial to make DIY Ceramic Photo Gifts from ceramic tiles and ornaments. They make great gifts for grandparents and other family members!

Photos capture some of our most special moments. It seems, for me anyway, I’m constantly taking pictures of my family but they don’t seem to get printed nearly enough. The days of camera phones and digital cameras have changed the way we take photos and what we do with them. This holiday season I’m making an effort to not only print some of my favorite moments but to create DIY Ceramic Photo Gifts with them.

I’ve made some special ornaments for out tree and to give to my parents. I also made tiles that beautifully display photos from a day at the beach with some dear friends. I can’t wait to give these gifts to the people I love!

DIY Ceramic Photo Gifts

Supplies:

  • Ceramic tiles or ceramic ornaments
  • Color copies of favorite photos – not photo paper, simple copy paper
  • White glue – like Elmer’s
  • Water
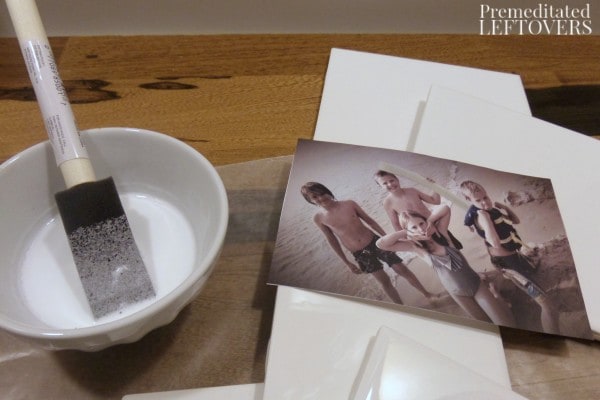
  • Sponge paint brushes
  • Spray clear urethane or clear nail polish

DIY Ceramic Photo Gifts Tutorial

Instructions:

In a small bowl mix together 2 parts glue to 1 part water. I did 3 oz  of glue and 1 1/2 oz of water. This was enough to do several tiles and ornaments. Make sure the mixture is well blended.

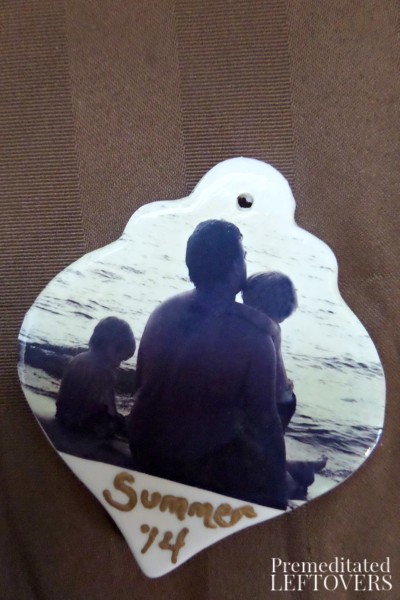
Trim the photo to the size and shape of the ornament or tile. I left some white space around my photo to add a special message and date with a paint pen later.

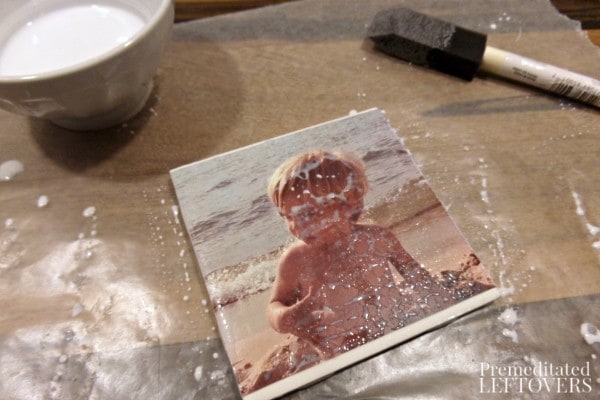
Lay the photo face down and apply a coat of the glue/water mixture using the sponge brush.

Turn the photo over and carefully lay it on the tile or ornament. Gently smooth the photo out, removing any wrinkles or bubbles. Do not press to hard or pull as the paper is fragile when wet and can tear.

Once the photo is smooth on the tile, apply another coat of the glue/water mixture with the sponge brush. Let the tile dry completely.

DIY Ceramic Tile Photo Gifts

When the tile is completely dry, add an addition coat of the mixture. Let it dry and repeat several more times.

After you’ve applied several coats of the glue/water mixture and the tile is dry, carefully add 1-2 coats of urethane to each piece. You can coat with clear nail polish if you prefer but this is a bit harder to get completely smooth. I used nail polish for this ornament.

DIY Ceramic Photo Ornaments

Have you made any DIY Photo Gifts?  I’d love to hear your ideas for making special gifts from photos!


  • 15 DIY Christmas Gift Ideas
  • 10 DIY Christmas Gift for Boys
  • 10 DIY Christmas Gifts for Girls
  • DIY Sock Cupcake Gift Idea
  • 15 Gifts Kids Can Make
367 shares
  • Share
  • Tweet

Comments

  1. Molly says

    November 21, 2019 at 9:56 am

    Could u use mod podge instead of the glue and water mixture?

    Reply
  2. Meagan says

    March 1, 2016 at 8:40 am

    This idea is really cute and I’m so happy you shared. Makes a homemade gift mean just a little something more! I can’t wait to try this!

    Reply

Leave a Reply Cancel reply

Your email address will not be published. Required fields are marked *

Recipe Rating


Search

Prep-Ahead Breakfasts and Lunches by Alea Milham

Recent Articles:

diy giant christmas decorations including large outdoor christmas decorations and oversized indoor holiday decor

15 DIY Giant Christmas Decorations

easy diy gift ideas for girls with directions

10 DIY Christmas Gift Ideas for Girls

10 DIY Christmas Gift Ideas for Boys

Prep-Ahead Meals from Scratch Where to Buy

BROWSE:

  • Blog
  • Cookbooks
  • Recipe Index
  • Members Area

ABOUT:

  • About
  • Contact
  • Privacy Policy
  • Disclosure

Welcome. I'm Alea!

On Premeditated Leftovers I share simple recipes made with whole foods, practical shopping tips, time saving techniques, and meal planning strategies. I also share tips for minimizing food waste, so more of the food that is purchased ends up on the table.

While volunteering as a budget counselor, I realized that food is the element of most people’s budgets where they have the greatest control. I set out to develop low-cost recipes from scratch to prove it’s possible to create delicious meals on a limited budget. Eating well while spending less is about more than just creating recipes using inexpensive ingredients; it’s about creatively combining ingredients so you don’t feel deprived and are inspired to stick to your budget.

Copyright ©2025, Premeditated Leftovers™. All Rights Reserved.
Design by Pixel Me Designs