• Home
  • About
    • Privacy Policy
  • Blog
  • Prep-Ahead Meals Cookbooks
  • Recipes
  • Lifestyle
  • Gardening
  • Kid’s Activities
  • Gluten-Free Recipes
  • Budgeting Tips
↑

Premeditated Leftovers™

Prep-Ahead Meals, Cooking Tips, and Frugal Living

  • Cookbooks
    • Prep-Ahead Breakfasts and Lunches
    • Prep-Ahead Meals From Scratch
  • Recipe Index
  • Members Area
    • Member Login
    • Join Us
  • Home
  • Blog
  • Recipes
  • Gluten-Free Recipes
  • Lifestyle
  • Garden
  • DIY
  • Kids
  • Budget

You are here: Home / Naturally Frugal Living / How to Make a Felt Heart Sachet

How to Make a Felt Heart Sachet

February 5, 2016 by Katie Femia 2 Comments

This post may contain affiliate links. Read our disclosure policy here.
1411 shares
  • Share
  • Tweet

How to Make a Felt Heart Sachet - Make this easy heart sachet for Valentine's Day using felt, glue, and essential oils. No sewing required!

If you are looking for a sweet smelling, handmade Valentine’s Day gift, this essential oil scented felt heart sachet is perfect. Don’t worry, as you don’t need to make a single stitch to craft one. In fact, all you need is a little felt and your favorite essential oil and you are all set! If you have a special sweetheart you would like to make one of these essential oil scented sachets for, take a peek below for the tutorial!

How to Make a Felt Heart Sachet

Supplies:

  • Felt in choice of colors
  • Hot glue, glue gun
  • Scissors
  • Essential oil of choice

Some suggested oils include lavender which is quite calming and soothing, or you can opt for more rustic scents such as clove or citrus. Use an essential oil that appeals to you and your senses!

items needed for this essential oil scented Felt Heart Sachet

Directions:
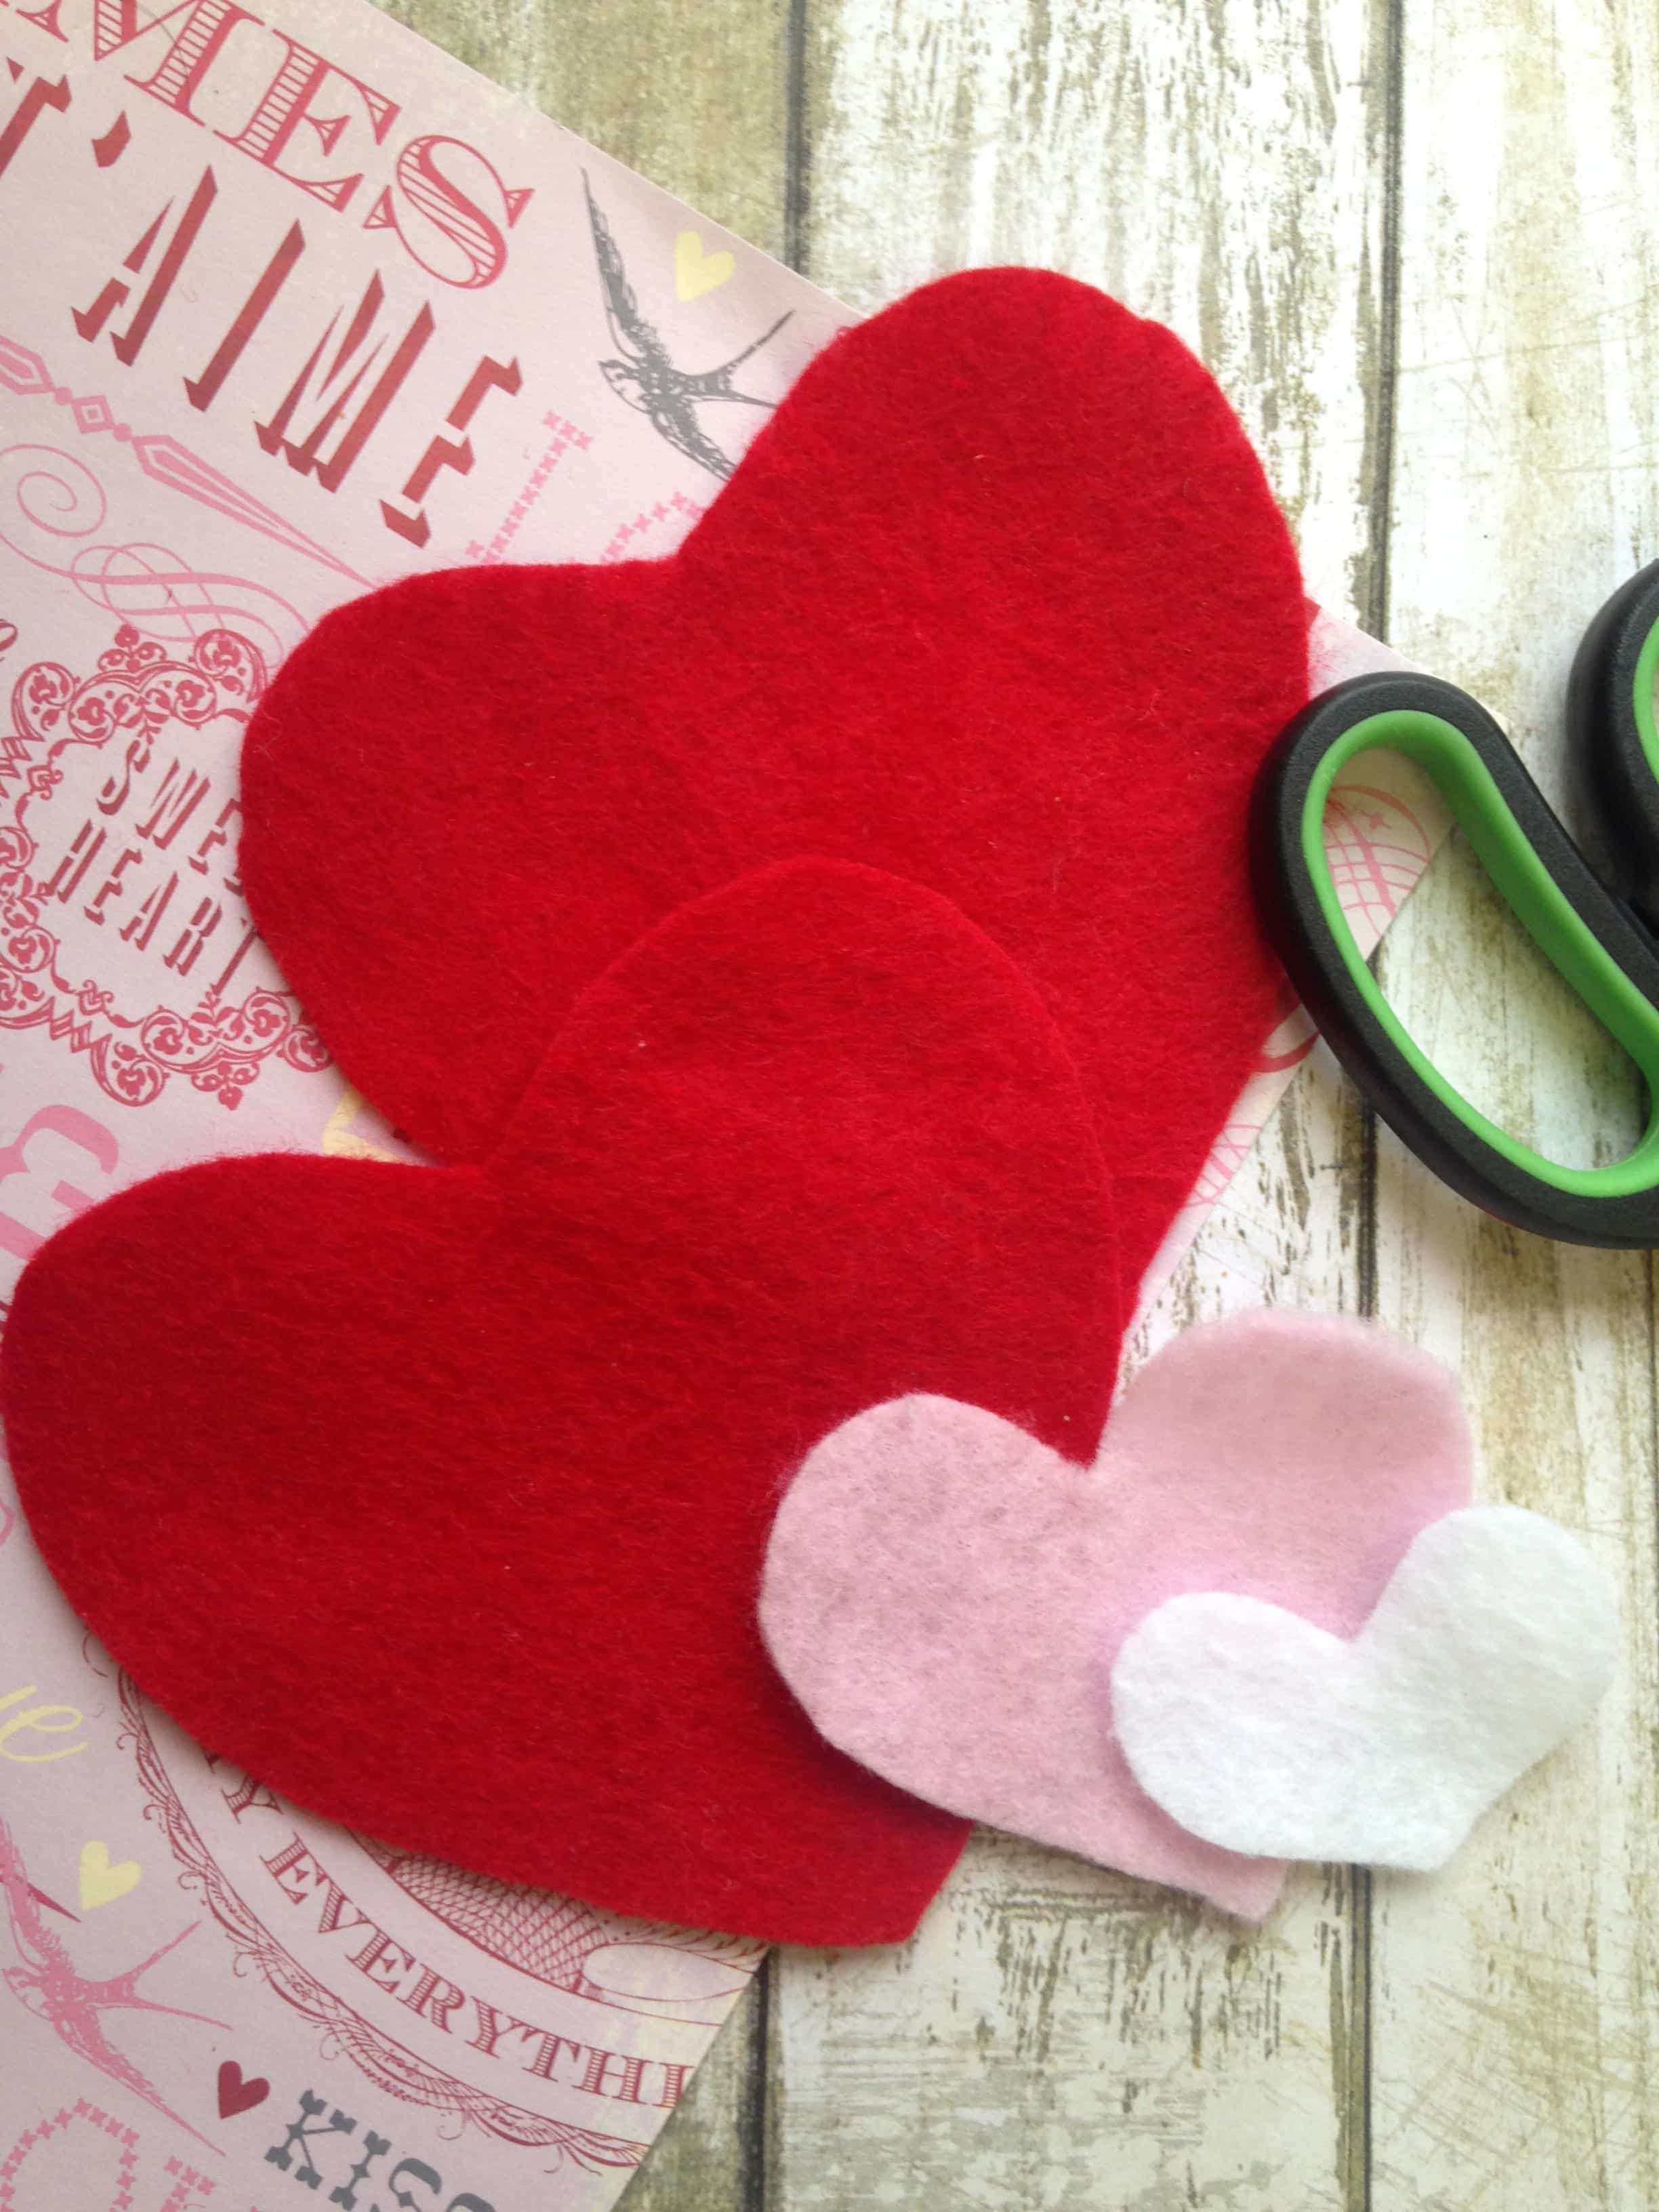
1. Begin by cutting out two symmetrical hearts. These can be any size you wish. For ours, we opted for a heart that was about palm size.
2. Next, cut out additional, smaller hearts to use as embellished layers. These can be in the size and color of your choosing.

Cut felt hearts from 3 different colors of felt to make this essential oil scented Felt Heart Sachet

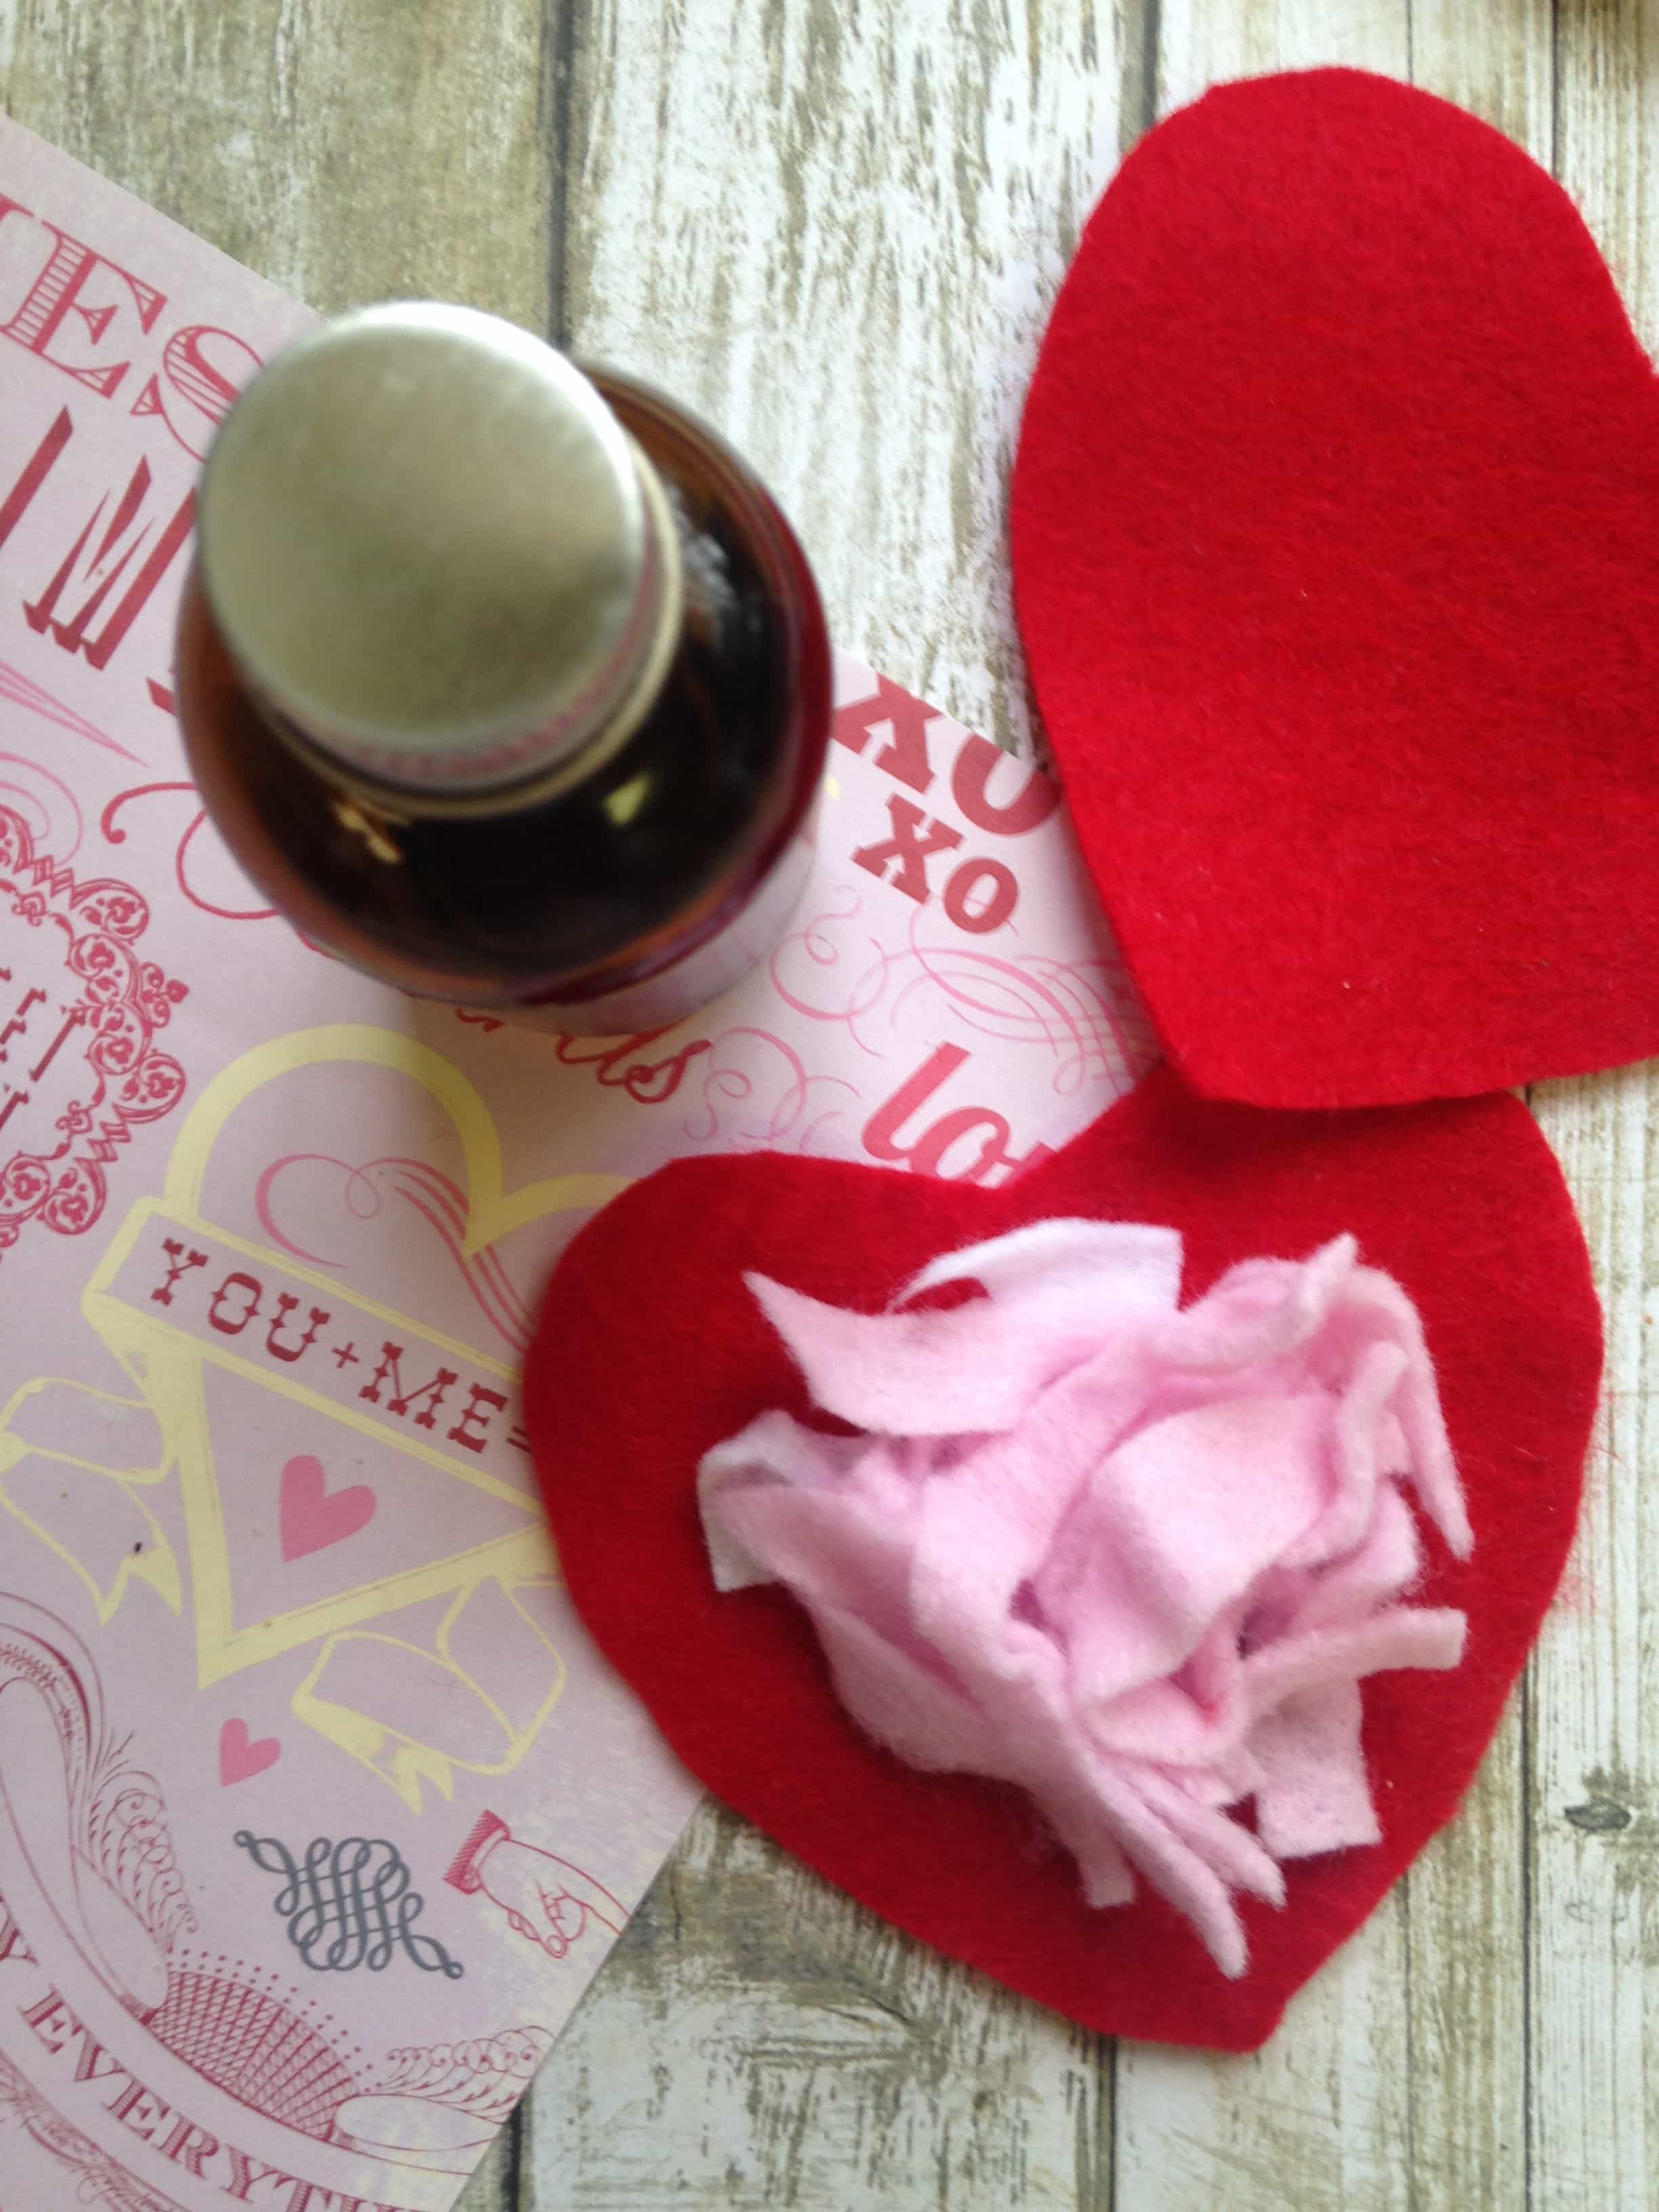
3. You are now going to start stuffing your sachet. To do this, just use your leftover felt scraps! They are soft and absorbent, and they are the perfect size for this project. Simply bunch them up and set them in the center of one of your hearts.
4. Next, add your essential oils. I placed a few drops directly onto the felt scraps and gave it a few seconds to absorb and soak in.

Stuff the heart with felt scented with essential oils

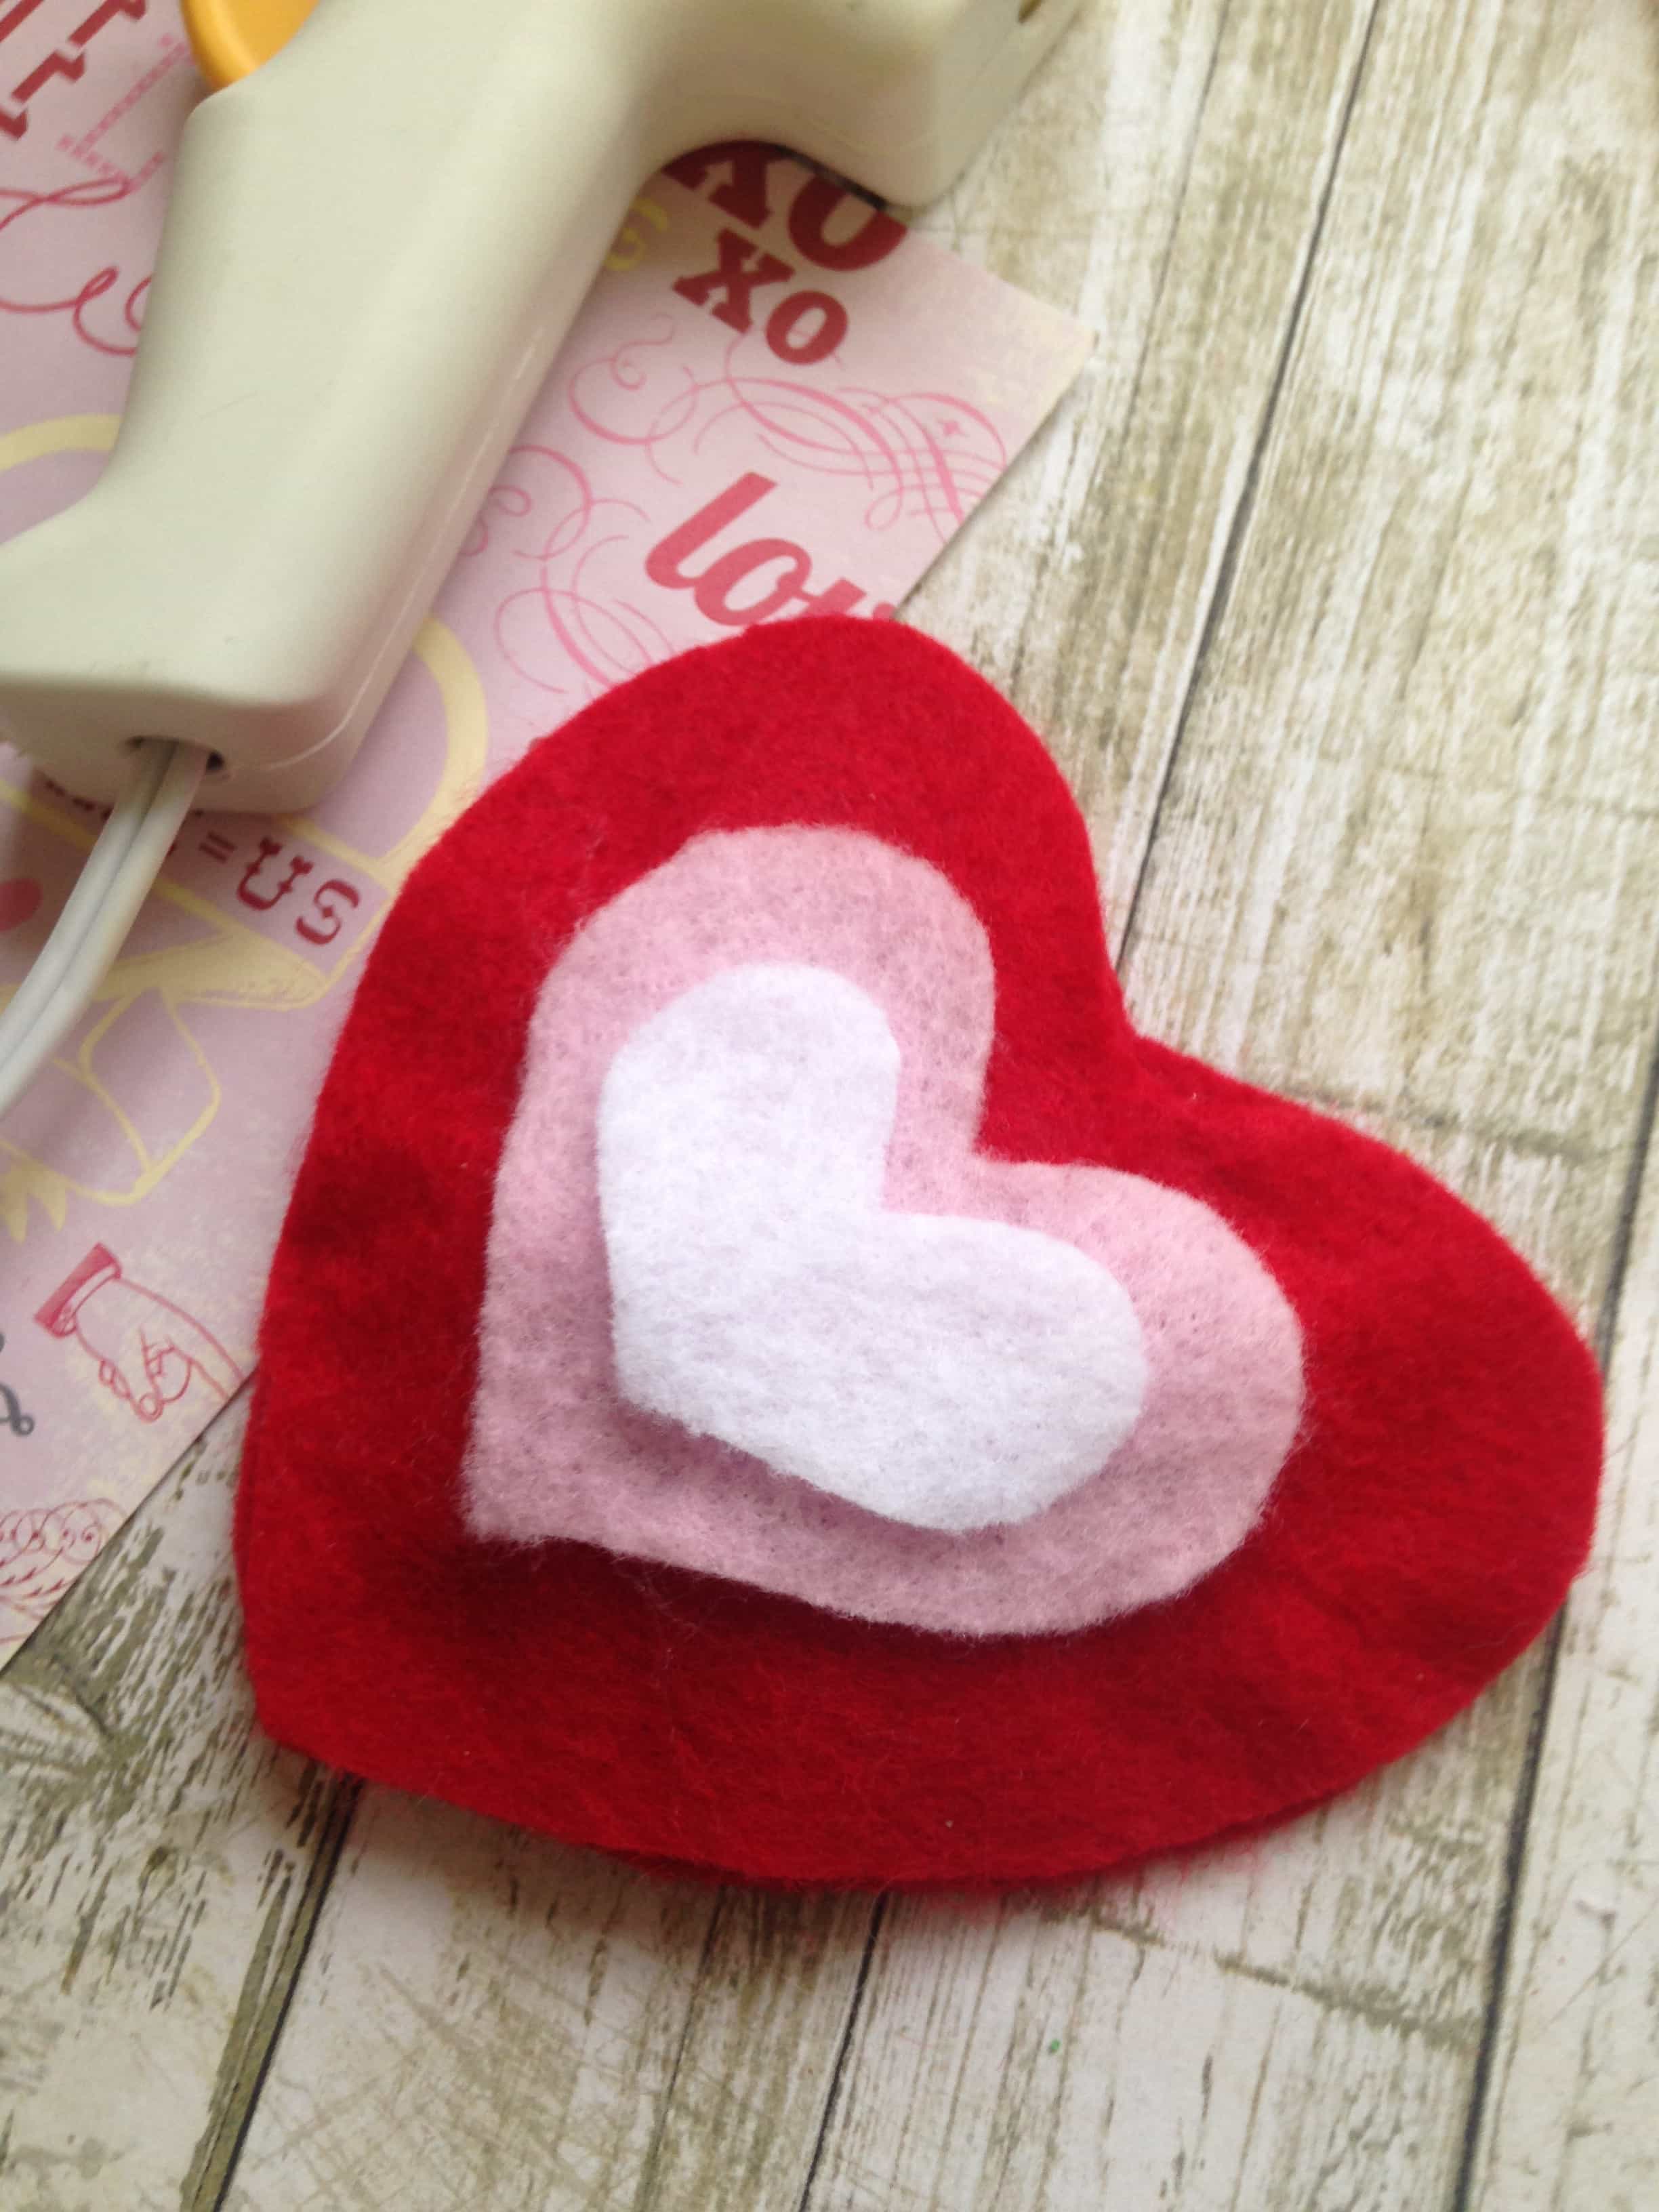
5. Next, you want to place the top on the sachet. Don’t worry, you won’t need to get out a needle and thread. All you need to do is trace the outline with hot glue, and place the additional heart cut out on top. Press the sides firmly to make sure the pieces are well adhered.

Use a glue gun to seal the heart and attach additional felt hearts on top of the felt heart sachet

6. You can now finish the sachet by adding the additional layers. Simply add some glue to them and press them into place. This step is super easy and only limited by your imagination!

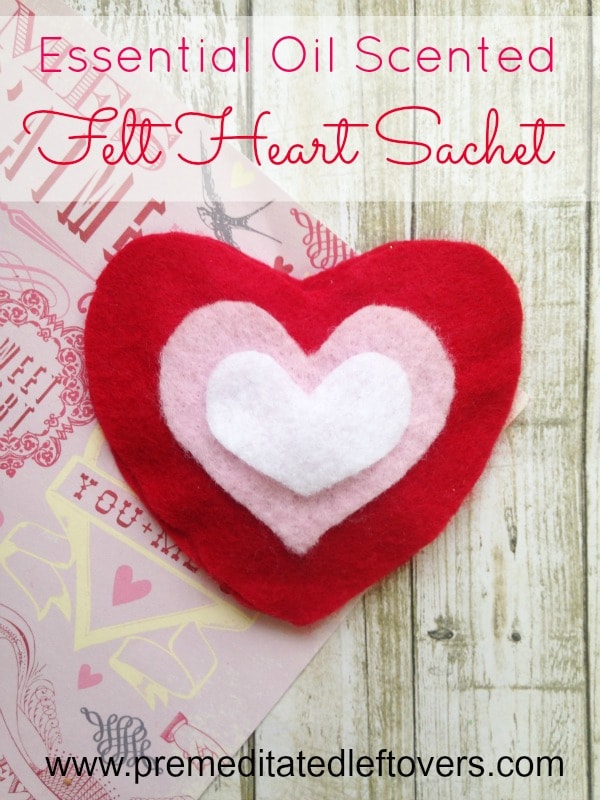
DIY essential oil scented Felt Heart Sachet tutorial

That is all there is to it! Your essential oils heart sachet is now ready for gift giving. Your sweetheart can place these in a purse, sock drawer, desk drawer, closet, or even school locker. It is sure to provide scent for several week. When the scent fades no worries, just dab a few more drops of the oil directly onto the felt and let it absorb. You can do this over and over again.

Gather your supplies and give this simple essential oils heart sachet a try! For more Valentine’s Day crafting, check out my easy felt arrows and cherry scented play dough!

More Valentine’s Day DIY Projects

Lace Heart Valentine’s Day Banner

15 DIY Valentine’s Day Decor Ideas


Cherry-Flavored White Chocolate Hearts

Chocolate Dipped Clementine Hearts
Homemade Dark Chocolate Truffles Hearts

5 Valentine’s Decorations to Last the Year

1411 shares
  • Share
  • Tweet

Comments

  1. Annemarie says

    January 14, 2017 at 1:59 am

    Very cute, thanks for the tutorial! I came over from Feathered Nest Friday. Would love it if you join my link party too. Best wishes, Annemarie

    Reply
  2. Charlene Asay says

    January 12, 2017 at 12:18 pm

    Great idea. Thanks for sharing with us all.

    Reply

Leave a Reply Cancel reply

Your email address will not be published. Required fields are marked *

Recipe Rating


Prep-Ahead Breakfasts and Lunches by Alea Milham

Search

Prep-Ahead Meals from Scratch Where to Buy

Recent Articles:

How to Make Homemade Air Freshener Spray

How to Make Homemade Air Freshener Spray

Tips for cleaning lunch boxes, snack gear, and back packs

End of School Year Cleaning Checklist

Easy Summer Cleaning Tips

Easy Summer Cleaning Tips

BROWSE:

  • Blog
  • Cookbooks
  • Recipe Index
  • Members Area

ABOUT:

  • About
  • Contact
  • Privacy Policy
  • Disclosure

Welcome. I'm Alea!

On Premeditated Leftovers I share simple recipes made with whole foods, practical shopping tips, time saving techniques, and meal planning strategies. I also share tips for minimizing food waste, so more of the food that is purchased ends up on the table.

While volunteering as a budget counselor, I realized that food is the element of most people’s budgets where they have the greatest control. I set out to develop low-cost recipes from scratch to prove it’s possible to create delicious meals on a limited budget. Eating well while spending less is about more than just creating recipes using inexpensive ingredients; it’s about creatively combining ingredients so you don’t feel deprived and are inspired to stick to your budget.

Copyright ©2022, Premeditated Leftovers™. All Rights Reserved.
Design by Pixel Me Designs
1411 shares