Are you ready to add the sweetness of spring to your living space? If so, take a look at how you can make your own simple spring picture frame. Easy and inexpensive to craft, this spring picture frame is a fun and frugal way to add a pop of color to your walls. Kids can enjoy this craft or it would be something fun to do with a group of friends. And while this spring picture frame looks like something you would find in a handmade boutique, it is actually a piece you can create in just minutes. Here is how to make your own!
Supplies Needed:
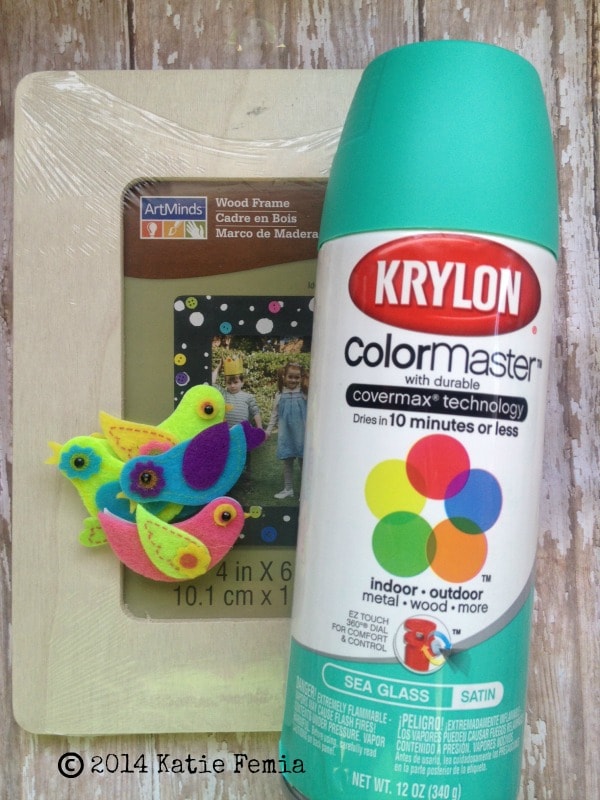
Spray paint (we used sea glass, but you can use a color of your choice)
Wood picture frame (These are just $1!)
Assorted felt peel and stick shapes
Craft glue
Buttons (optional)
We found all of the supplies we used here at our local Michael’s Craft store. Be sure to check for coupons in your Sunday paper before you go, or use their easy smartphone app for mobile coupons.
Directions:
1. Begin by applying two coats of paint to your frame. Allow it plenty of time to dry.
2. Once the frame is dry, pick two corners that you are going to decorate. Picking just two corners will keep you from over doing it and will allow for an even and cohesive look.
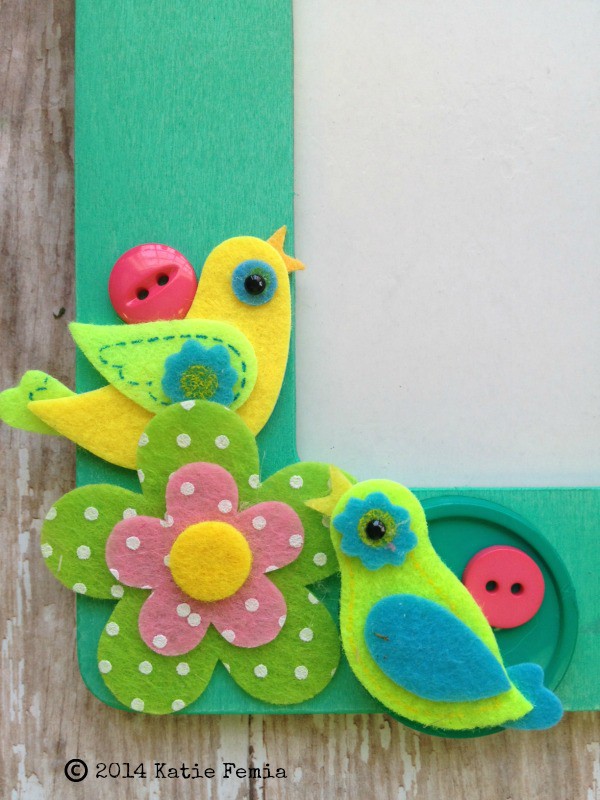
3. Apply some glue to the back of your felt stickers. Press them to the two chosen corners of your frame. We picked some whimsical birds and flowers. These really screamed spring!
4. Begin layering your shapes for some interest. You can even add coordinating buttons as we did for some extra charm and fun!
Your simple spring picture frame is now complete. See how easy it can be to create something beautiful and custom? Gather your supplies and give this easy DIY project a try. It is a great (and cheap!) way to add some spring color to your home or office.


Leave a Reply