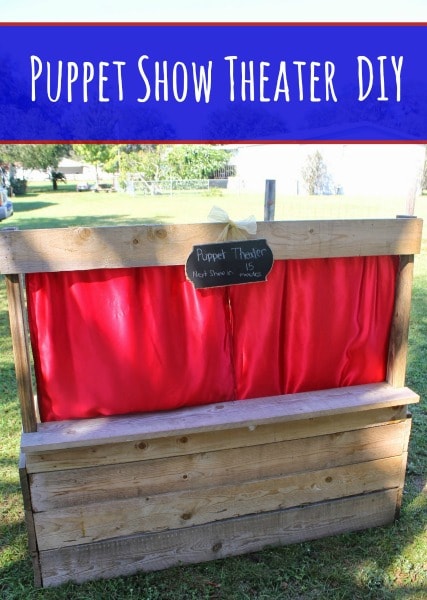
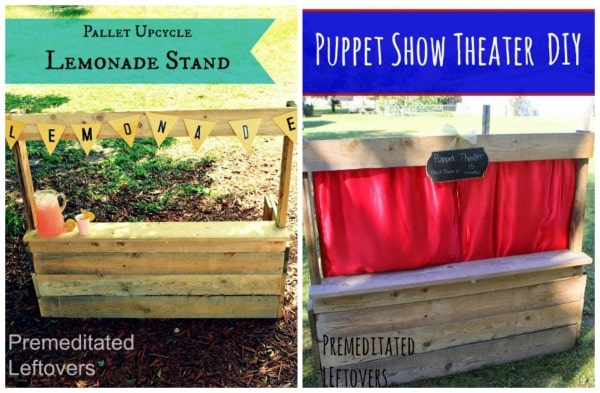
Have you seen our DIY for the Upcycled Pallet Lemonade Stand? If you didn’t catch it this past summer, make sure you check it out, it is a great use for old pallets and not only can it be a lemonade stand in warmer weather, but can be used in so many other ways: for dramatic play as a bakery, candy store, farmers market, or a puppet theater. With just a simple tension rod, fabric, and few puppets, stuffed animals, or dolls your child has a new toy that will encourage their imaginations to soar! We made our lemonade stand pretty large so it would easily accommodate both of my children so it is too large to bring indoors. So we opted for outdoor puppet shows and I just bring the curtain and rod inside and put it at the back of a short wall in my daughters closet for storage. I love the contrast of the look of the rough wood with the “fancy” red satin and the burlap trim on the frame with the shiny gold ribbon.
Here is the wood pallet stand used as a lemonade stand and as a puppet show theater.
DIY Wood Pallet Puppet Theater
Supplies Needed for the Wood Pallet Puppet Theater:
- Wood pallet
- saw
- screwdriver/screws, or nailgun/nails, or hammer/nails
Supplies Needed for the Curtain:
- A tension rod
- Red satin or velvet fabric
- Red thread
- A sewing machine
Supplies Needed for the Chalkboard Sign:
- Wood or pressed board plate
- Chalkboard spray paint
- Ribbon
- Twine
- Hot glue
Directions for the Wood Pallet Puppet Theater
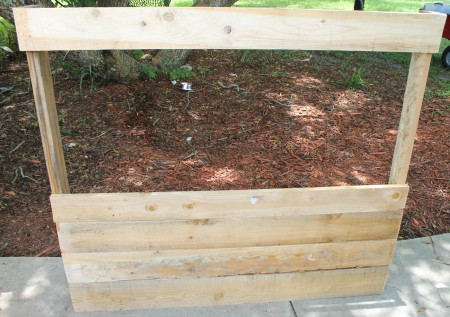
Remove all horizontal boards on the back of your pallet.
Remove the center vertical board.
Stand pallet up, have your child stand behind it to determine counter height. Mark the board at your desired height.
Remove all boards above this one, except for top horizontal board to create the “window”.
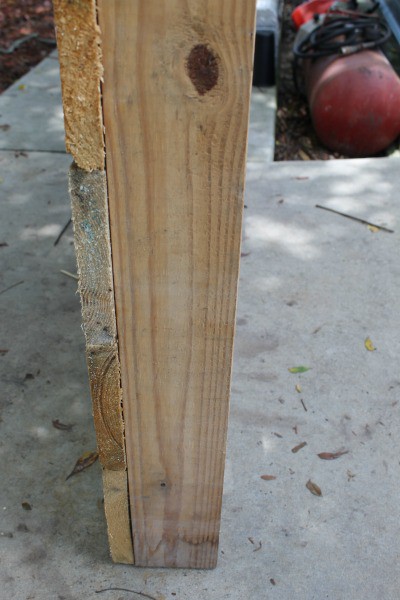
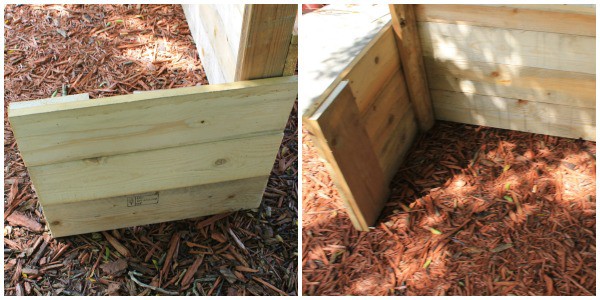
Here is a side view of how your theater should look so far.
To create a base support for your theater cut 4 boards in half, Use nails or screws to fasten 3 of these boards to the main beams on the side, Use your remaining board halves to attach vertically to the end of the the side “walls”
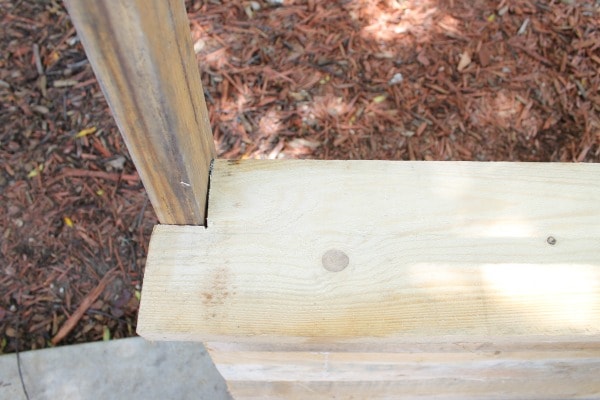
For the stage take another full size board, measure the main vertical post of your stand (generally these are 2×4) Mark and cut these measurements out of the back of your new counter board and nail or screw down.
If your boards are too rough you can go over them with a palm sander to smooth them out a bit, I would definitely recommend sanding at least the “stage” where little hands will be often. You can spray the top board that acts as the sign with chalkboard spray paint if desired to create your own signs (or you can use the directions below to make a chalkboard sign).
Directions for the Puppet Theater Curtains
These directions for puppet theater curtains will work for any similar base you may already have made, if you are not using our wood pallet stand tutorial. The directions are easy to customize to whatever size you need.
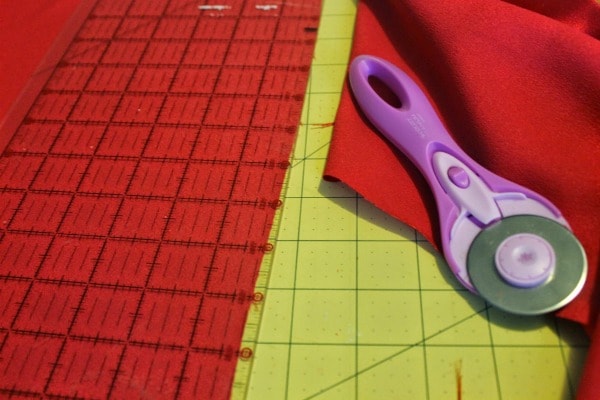
Measure opening, add 6″ to height, and 4″ to width -cut fabric to this measurement, then cut in half to form two panels. Satin is super slippery of course and is harder to work with as it moves around quite a bit, you could also use a velvet or any fabric you desire to create your puppet show curtains- this was what the kids ordered so I worked with it.
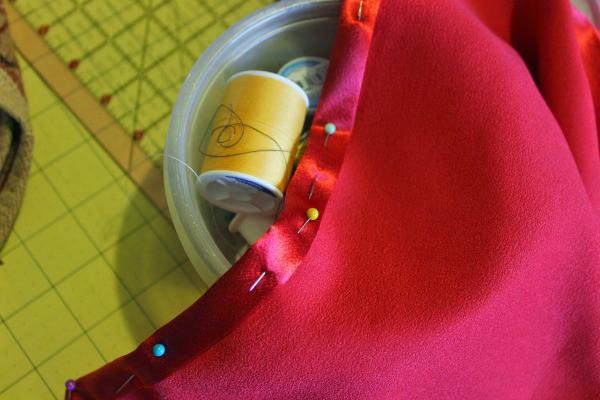
To create a finished seam, fold 1/8″ edges all the way around and press with a hot iron (use correct setting for your fabric). Fold a 1/8″ width again and press. Pin in place, use lots of pins if you are working with satin to keep it in place and remove them one at a time as you sew your way around. Do this for both panels.
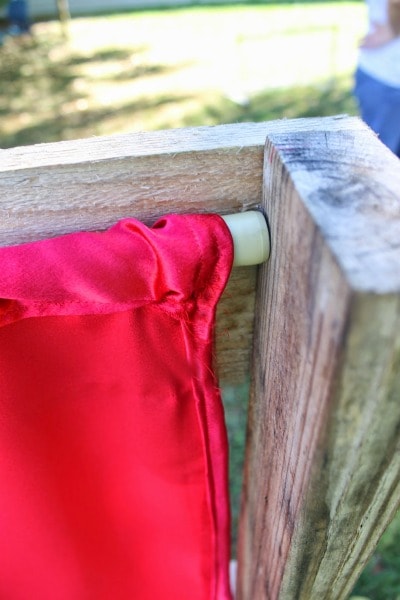
Fold over 2″ of top of panels and sew 1/8″ from the edge to form the pocket to slide your tension rod in.

Slide your curtains over tension rod and adjust it to fit your window width.
Directions for the Puppet Theater Chalkboard Sign
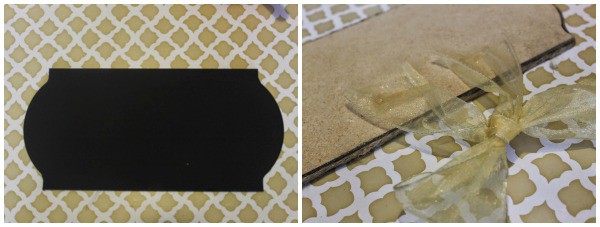
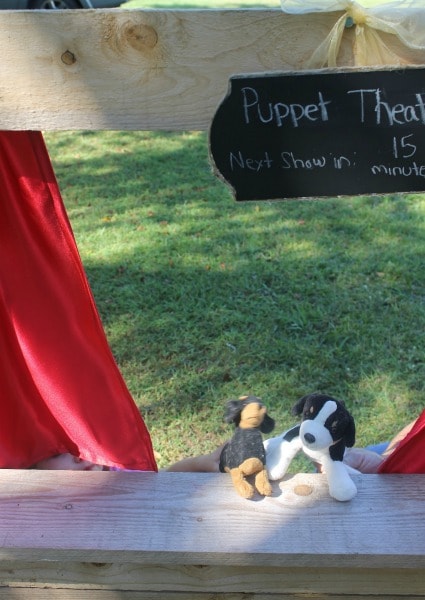
To make the sign I picked up a scrolly unfinished board at the craft store, gave it a couple coats of chalkboard paint, used hot glue to add a twine trim, and finally glued on a pretty gold bow to dress it up a bit. Add a nail to the top center of your stand and your chalkboard can be used for anything.
When you are ready for play add a basket of puppets, dolls, and stuffed friends behind the stand and let them entertain you!
More DIY Gifts for Kids
DIY Construction Site Travel Box
10 DIY Christmas Gifts for Girls
10 DIY Christmas Gifts for Boys

Maia says
Looooved it! Thanks from Perú!