With my little ones growing like weeds, I’ve wanted to make a growth chart that I can use to document their height each year. As a child my siblings and I had our height documented inside the door to our playroom. I love that idea and would love to do the same, but I need something that can be taken with us when we move every few years. With a handful of easy to find materials, I created a darling height chart that my family will treasure for years to come.
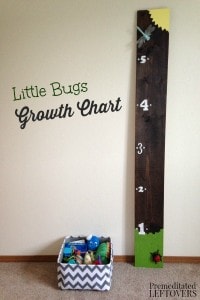
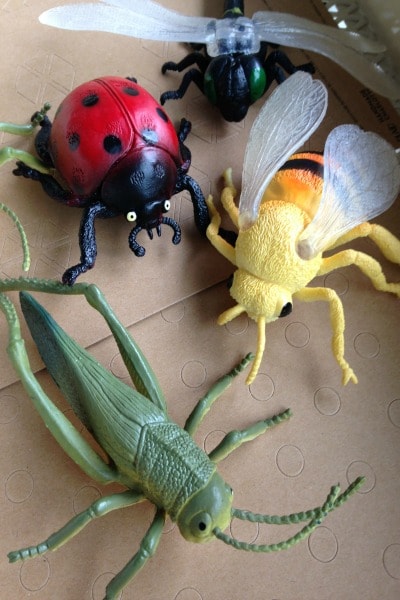
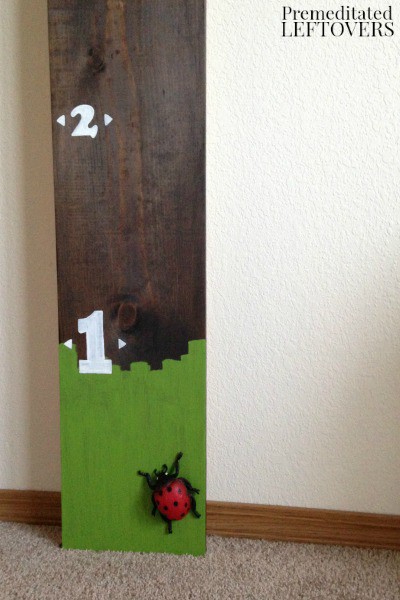
I’ve seen a lot of height charts that are made to resemble a large ruler, but I wanted something a little more for decorative purposes. A couple of toy bugs from The Dollar Tree and a little paint helped me create a chart that is a great addition to my children’s room. This Little Bugs DIY Growth Chart is a great solution for boys and girls alike, or can be personalized specifically for either one.
Little Bugs DIY Growth Chart
Materials:
- 16 ft. wood board
- Wood stain
- Latex paint in shades of green, white, and yellow (Sample cans are more than enough for this project and will cost you less than $5 a piece.)
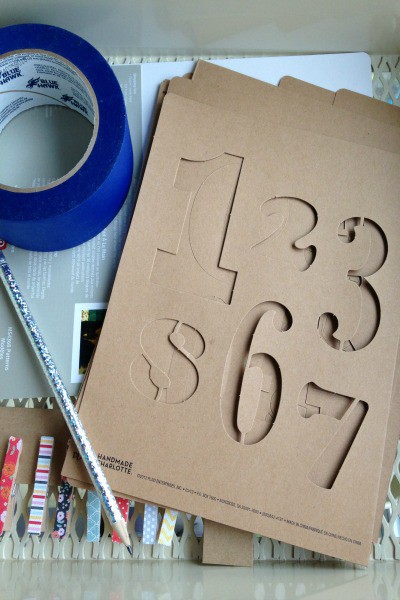
- Number stencils
- Bugs! (Dollar Tree bugs are BIG and they’re only $1!)
- E6000 craft glue
- Small paint brushes
- Measuring tape
- Pencil
Instructions:
1. Wipe your board clean of any dust and debris. Stain one side according to the instructions on the can.
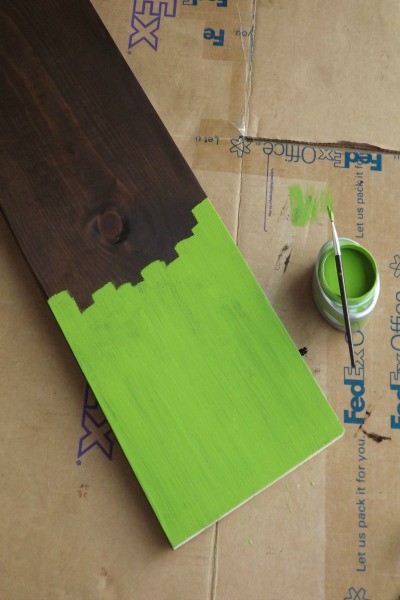
2. Once the stain has dried, use your green paint and a small brush to make the grassy area at the bottom of the board. The easiest way to do this free hand is by using the shape of the brush to make thick irregular brush strokes.
3. Once the grass has dried use a measuring tape and a pencil to mark every foot. Start at the bottom of the board and work upward.
4. Place your stencils on the board and pencil in the outline of each number you would like to use.
5. Using a small detailing brush, fill the numbers in with white paint.
6. Once the numbers have dried, add the yellow sun in the upper corner. Again, the easiest way to do this free hand is to use the edges of the brush to make clean pointed rays of the sun. Allow to dry.
7. Lay your board flat and determine where you would like your bugs to sit. Apply the E6000 glue to the area on the bottom of the bugs that will lay against the board. Press the bugs on firmly and leave the board flat to allow the glue to dry overnight.
8. Use a fine point paint marker like these to mark your child’s height on the growth chart. Be sure to include the date each measurement is taken.
More DIY Projects
DIY Wood Pallet Puppet Theater


Leave a Reply