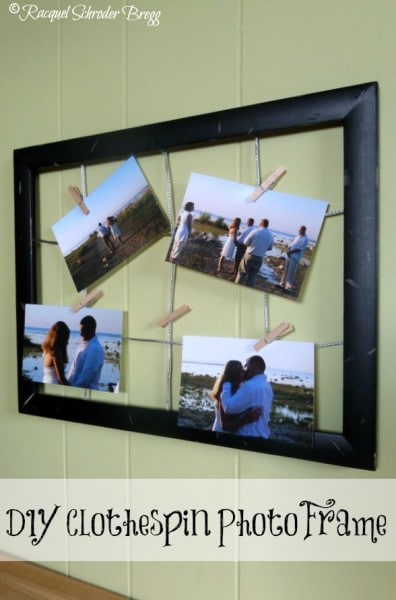
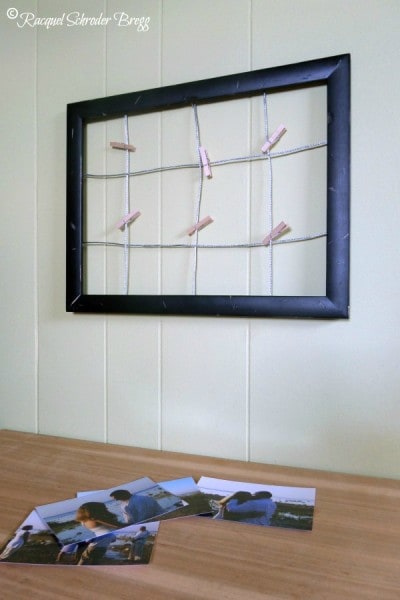
There never seems to be enough Photo Frames in our house. I love to take pictures of the every day moments as well as on special occasions. This DIY Clothespin Photo Frame is a great way to display lots of great photos in one place. I saw a frame like this in a store and was really tempted to buy it but even on sale, it was over $20. I was able to make this clothespin photo frame for less than $5!
How to Make a Clothespin Photo Frame
Supplies:
- photo frame with glass and backing removed – I found this at the Salvation Army for $1.50
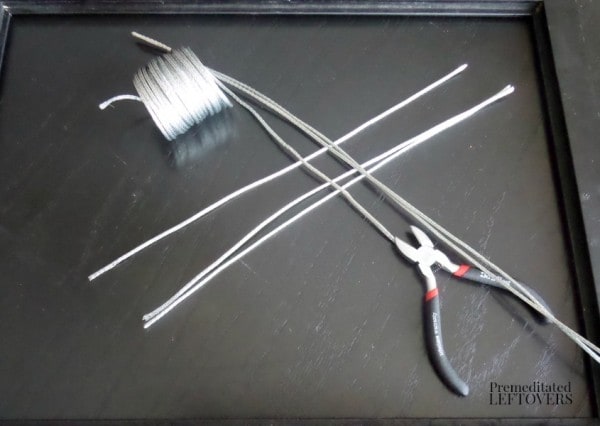
- picture frame hanging wire – I used a thick, cord type wire from the hardware department that was less than $3 for many feet.
- hot glue and glue gun
- mini clothespins
- wire cutters
Instructions:
Turn the frame over and make sure the backside is clean.
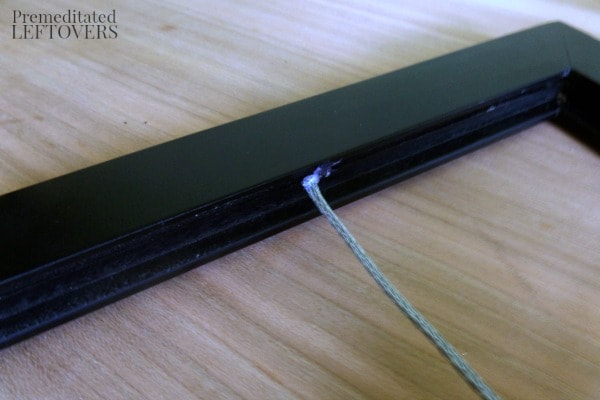
Measure and cut the wire to length. You will want the wire to be long enough that it will slip into the groove intended for securing the back of the photo frame that you will not be using.
After you’ve cut the wire to length, secure one end of each wire into the groove with hot glue.
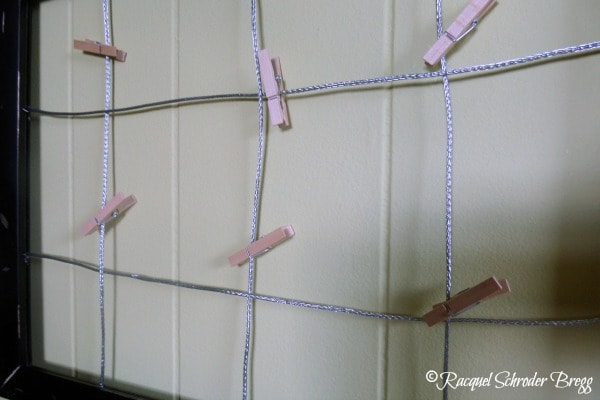
Weave the wires over and under one another and secure the other end of each wire with hot glue.
Pinch mini clothespins over the wires for securing photos.
Once the glue is cool, the frame is finished.
Hang the frame on a wall or lean it on a shelf. Use mini clothespins to secure many photos for display.
As an added note, the photo frame I purchased was a little dinged up and scratched. I used a small file and some screws, nails and other items to distress the frame further so that it would look like the distressing was intentional. My black frame was natural wood underneath and the distressing exposed that. The natural colored wood mini clothespins and that little bit of natural wood showing through the paint worked out perfectly!

Leave a Reply